When you purchase through links on our site, we may earn an affiliate commission.Heres how it works.
TheASUS ROG Allyis one of the bestgaming handhelds.
It does, however, have a flaw that could steer people away.

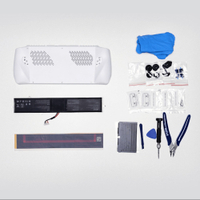
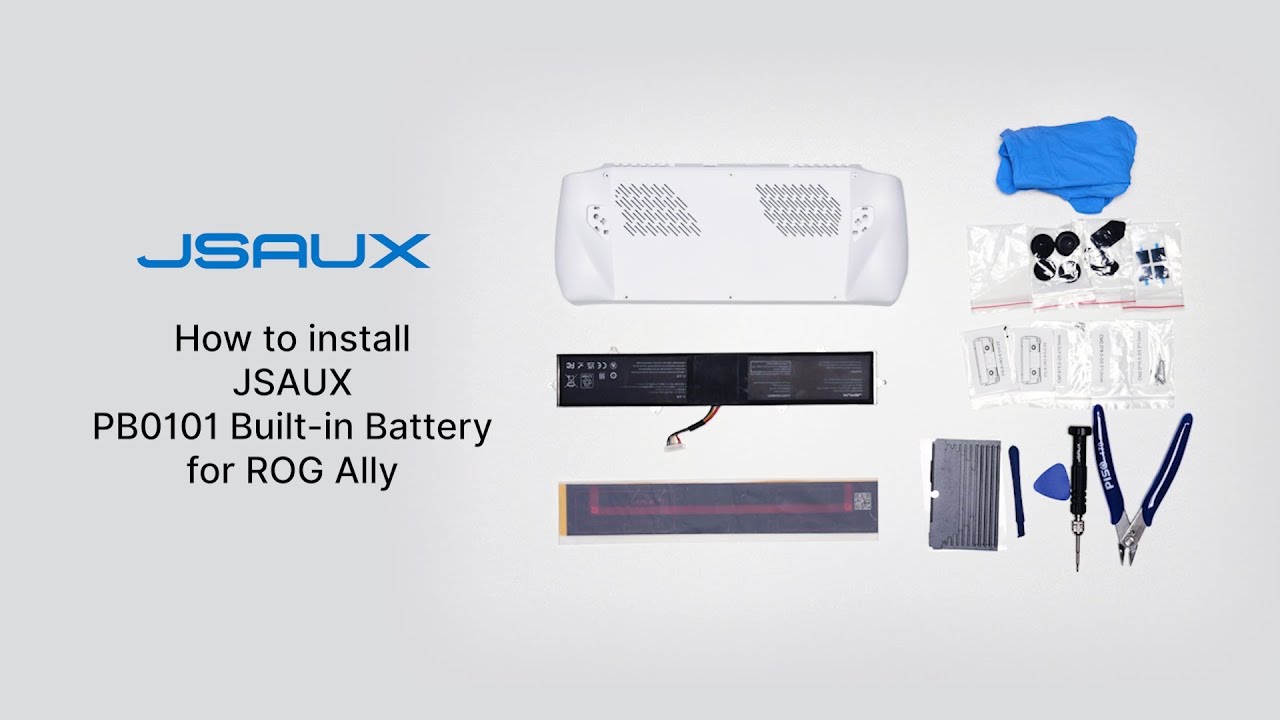
The JSAUX battery & thermal upgrade kit for ROG Ally includes a 65Wh battery and the tools required to replace the battery of the gaming handheld.
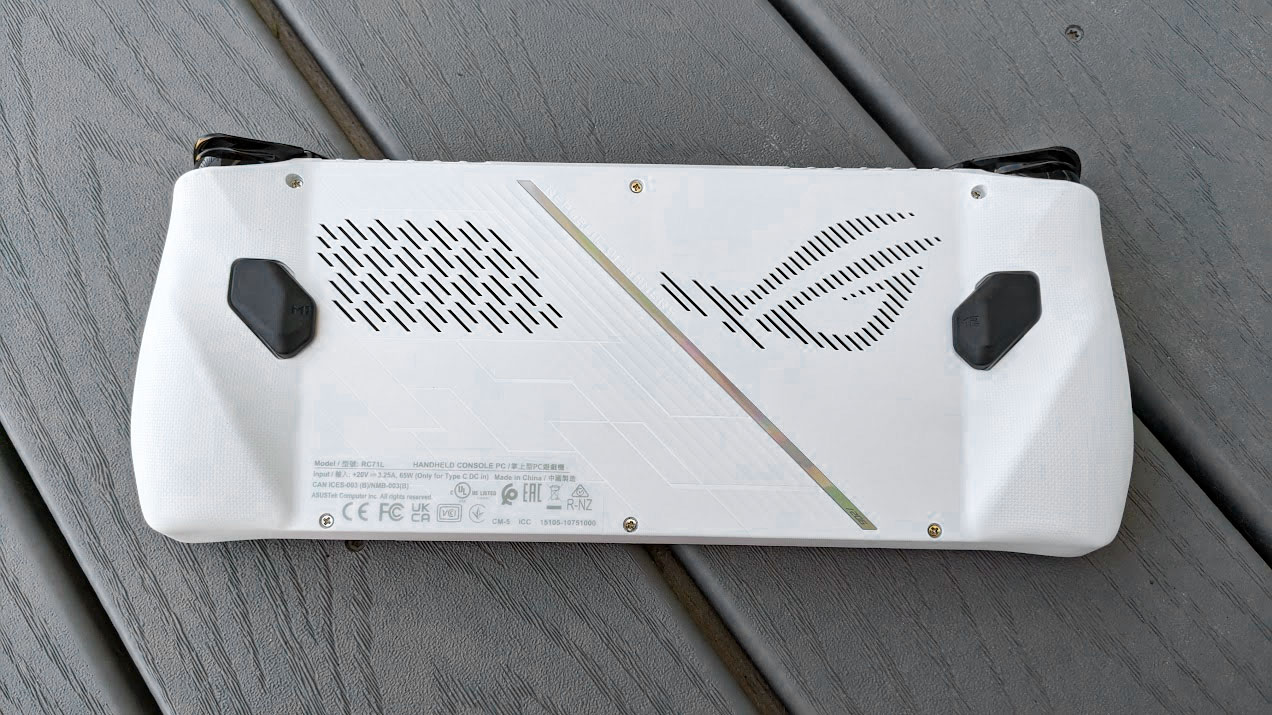
The ROG Ally has less-than-ideal battery life.
Its 40Wh battery contributes to that, as does the large display of the console.
JSAUXjust announced a new upgrade kit designed to extend the ROG Allys battery life.
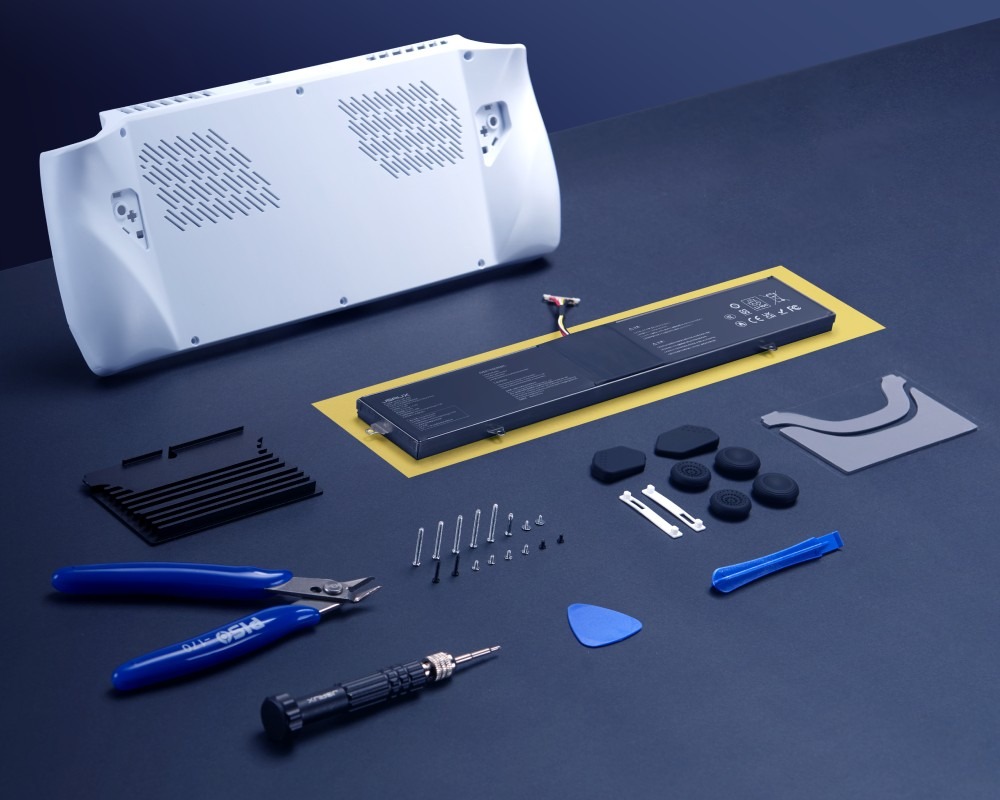
The JSAUX battery & thermal upgrade kit for ROG Ally includes a 65Wh battery and the tools required to replace the battery of the gaming handheld.
It also has a new backplate and aluminum heat shield, which JSAUX states will enhance thermal management.
All the essential tools for replacing the battery of the ROG Ally are included.
“Overall, the Ally is an impressive little gadget, but it does have one huge flaw.
You guessed it the battery life still isn’t great,” said Spear.
In her testing, Spear only got one hour and 38 minutes of use on average.
To hit over three hours of playtime, Spear had to reduce controls significantly.
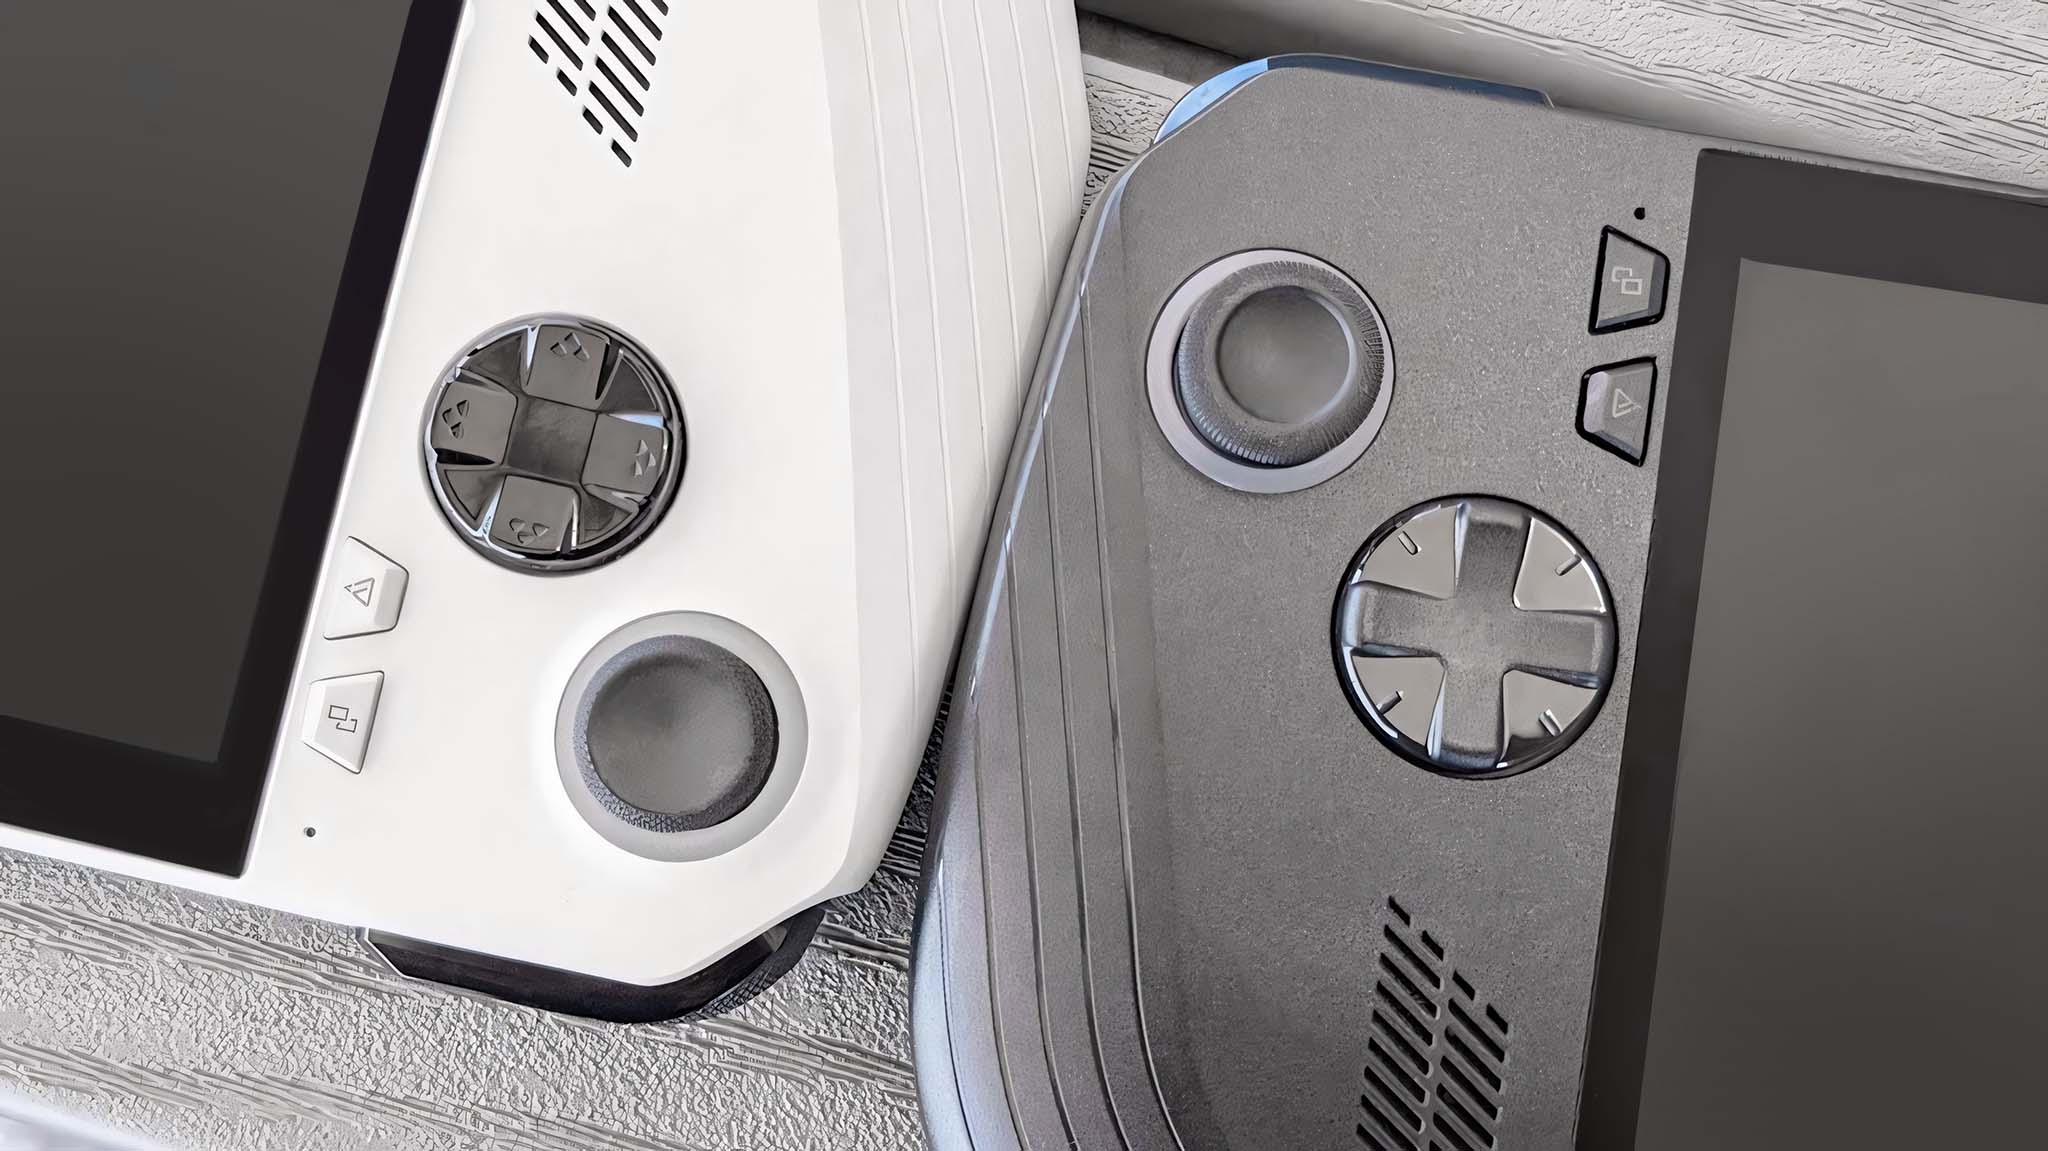
The ROG Ally and ROG Ally X have a lot in common, but the Ally X has an 80Wh battery that is double the size of the stock battery in the ROG Ally.
The ROG Ally X has the same Z1 Extreme processor and 7-inch touchscreen as the ROG Ally.
But the ROG Ally X has more memory and storage.
Our own Rebecca Spear has a full breakdown of theASUS ROG Ally X vs. ASUS ROG Ally.
That piece includes spec tables, thermal imaging, and first-hand experience with both devices.
JSAUX has a video breaking down all the steps.
But it should give you a gauge of how technical the process is.

You should also be aware that disassembling the ROG Ally may affect its warranty.
One of the steps involves trimming down plastic protrusions, so take your time measure twice, cut once.
The final steps involve adding the heat sink, reattaching cables, and screwing everything into place.
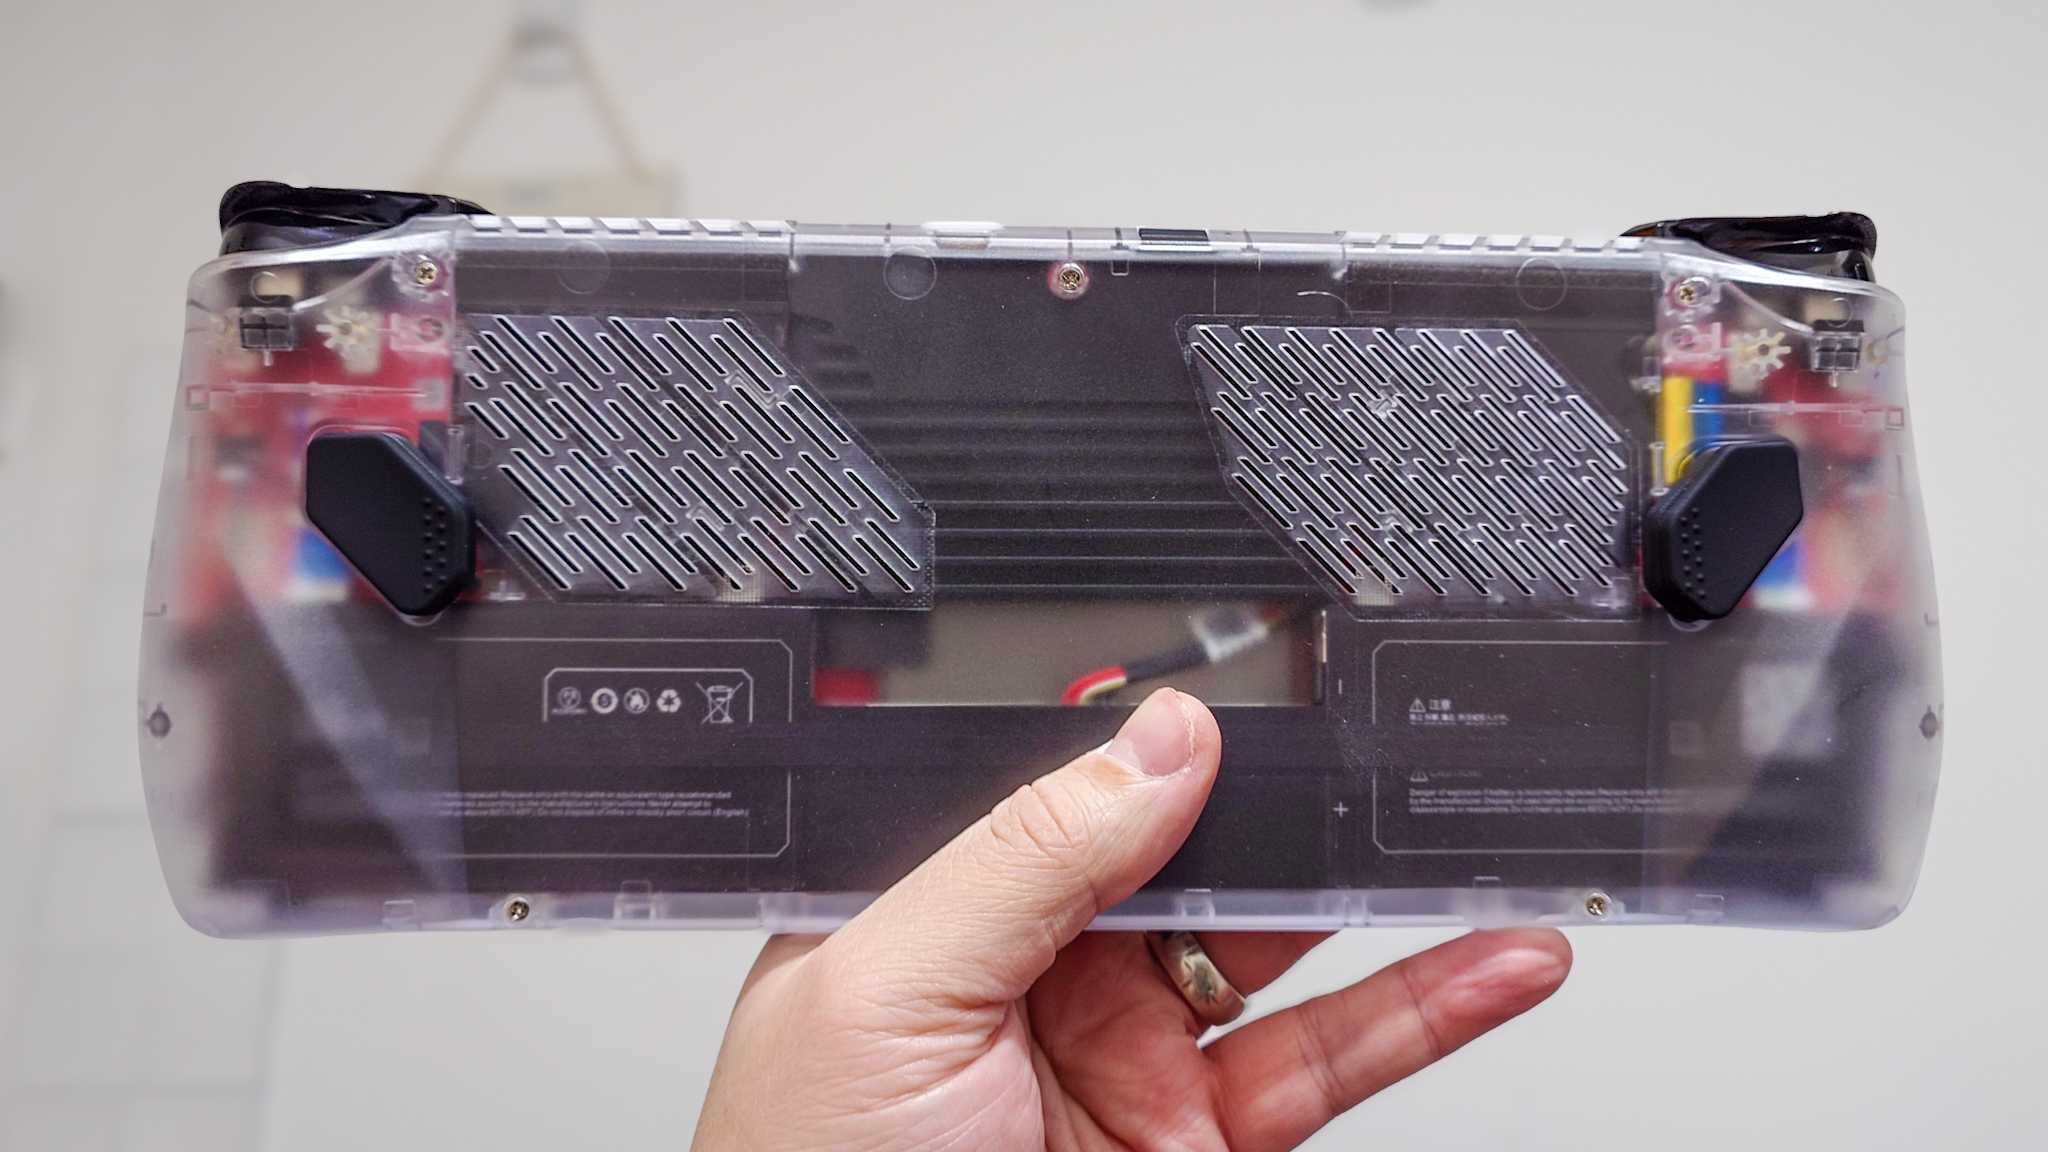
You’ll also need to add an adhesive strip to help secure the new back plate.