When you purchase through links on our site, we may earn an affiliate commission.Heres how it works.
Remnant 2 has taken the gaming world by storm.
Even with the procedural generation, most will contain unchanging puzzles, items, bosses, etc.
Enemies
Labyrinth Variation
We’ll cover the labyrinth version first.
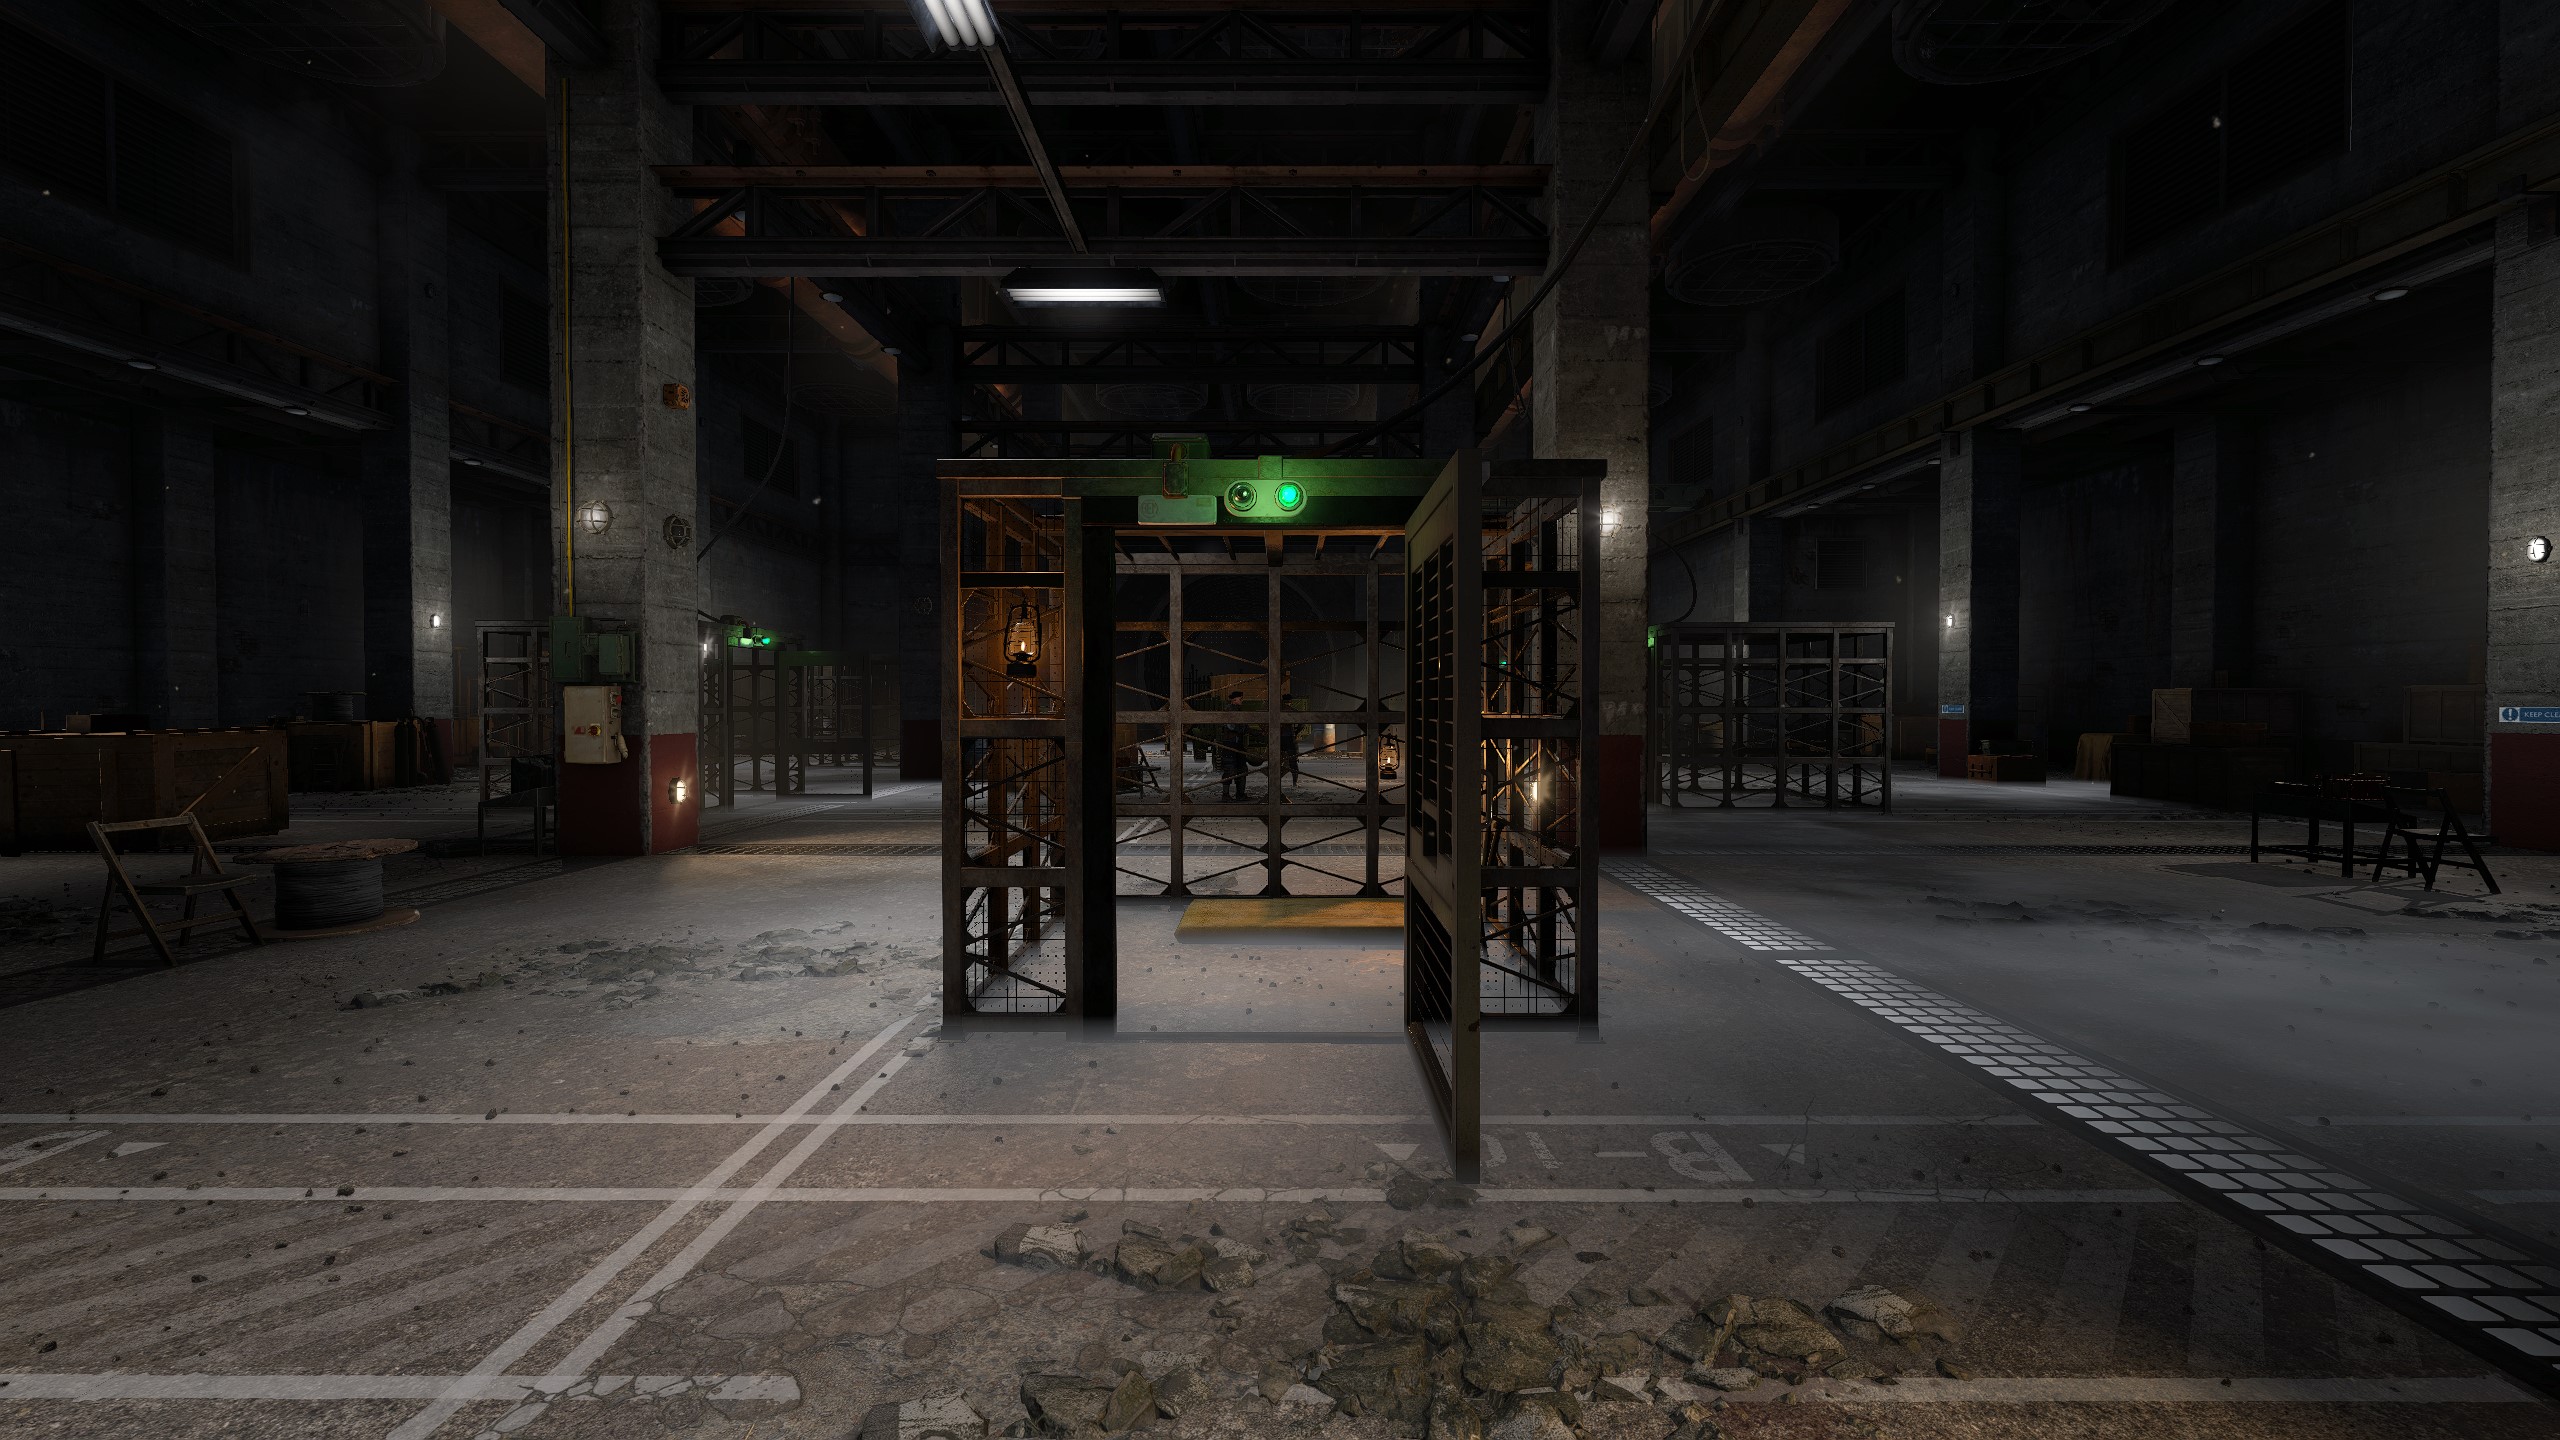
You’ll find a checkpoint near what gives the impression of the end of the dungeon.
With a room and a ring inside calledEndaira’s Endless Loop.
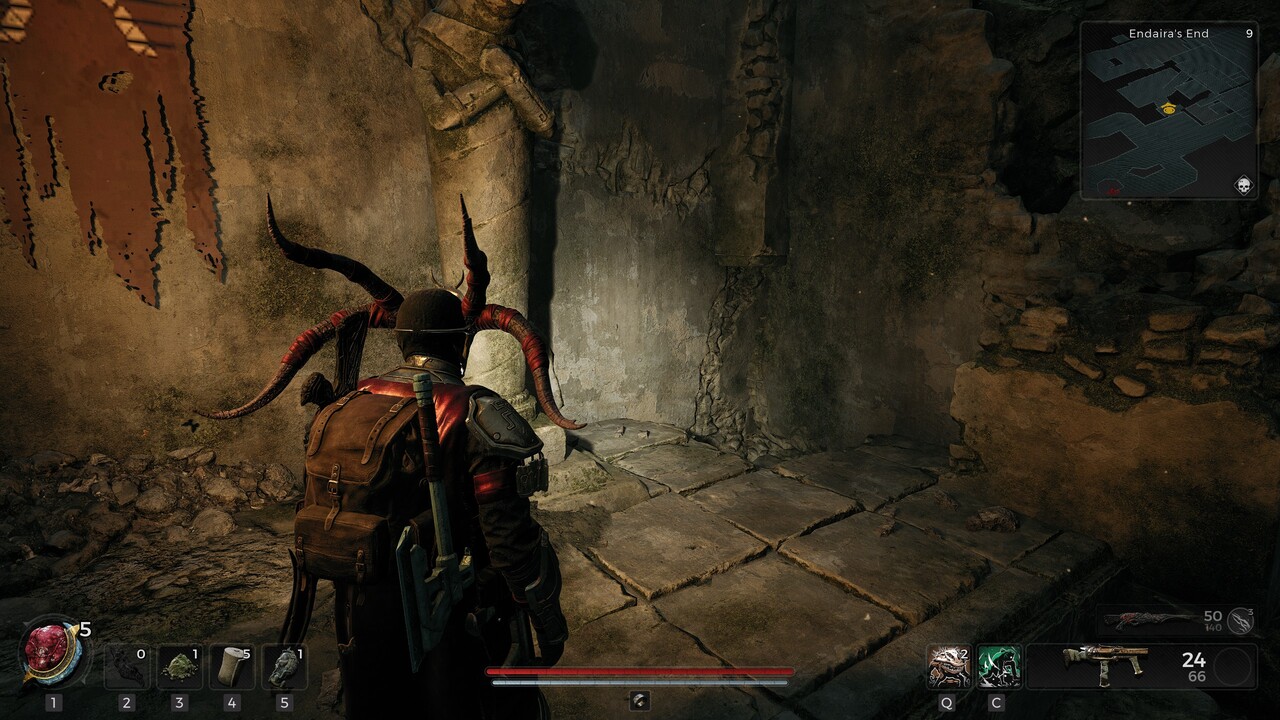
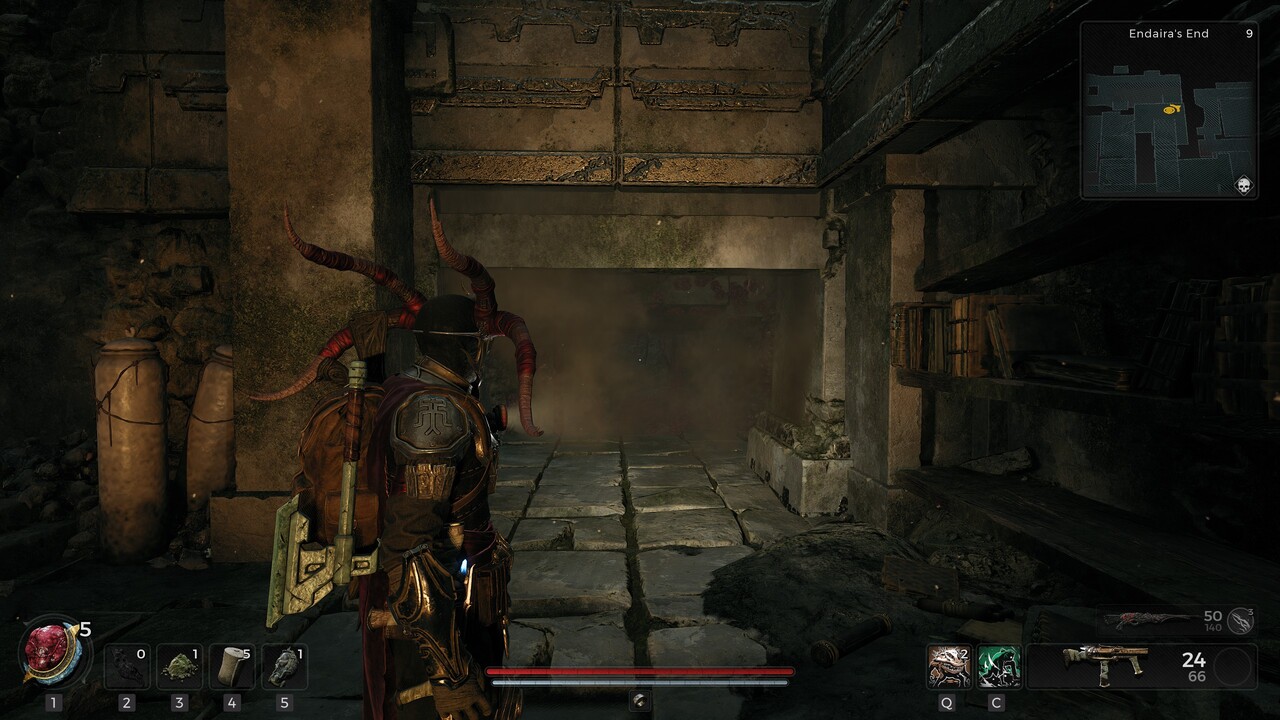
Let’s tackle the door ahead.
Walk forward after the door opens completely and roll inside once you’re underneath the door.
Rolling is essential for two reasons.
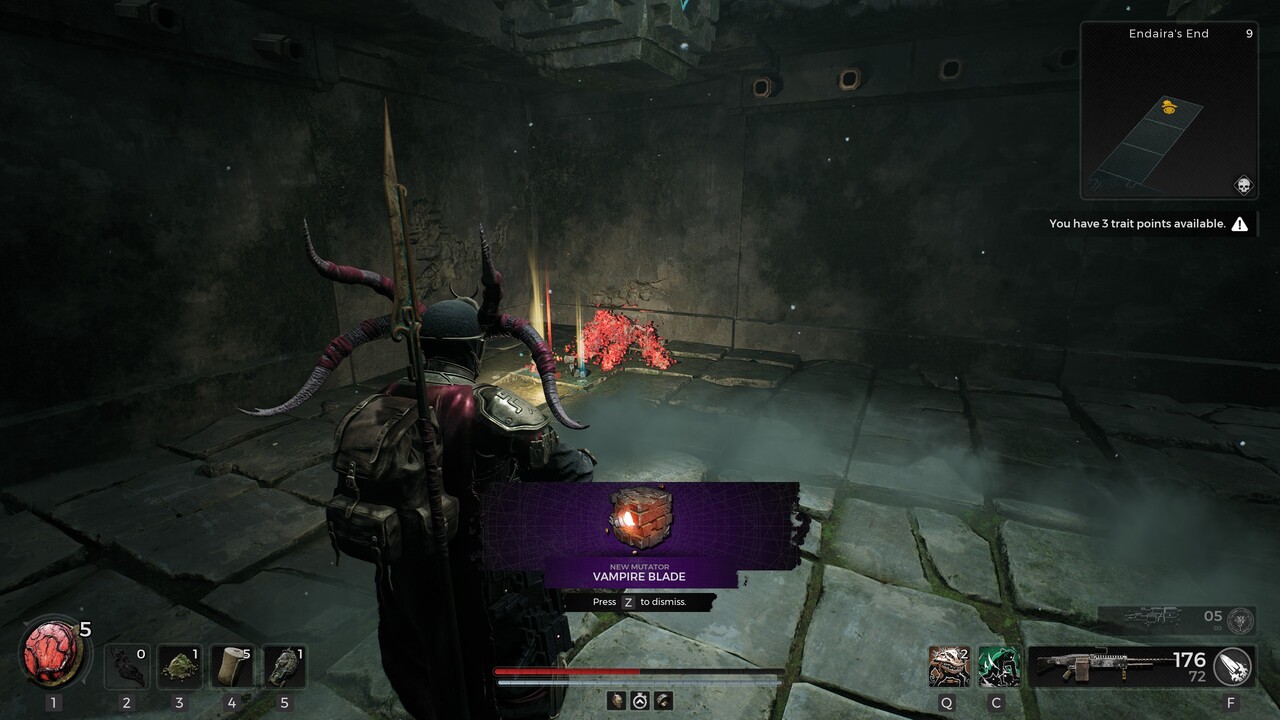
This area contains multiple items, including a mini-boss fight with an empoweredRoot Zombiethat drops theVampire Blademutator.
This mutator grants 10% increased melee damage while within 10m of a bleeding enemy.
These items aren’t all found on a single path, so take your time and explore this area.
Another essential item is theKrell Axemelee weapon.
Shortly after throwing, another will appear in your hand.
Grab the items in the room, then climb up.
You’ll be able to drop down onto the other side.
The effect lasts for 15 seconds.
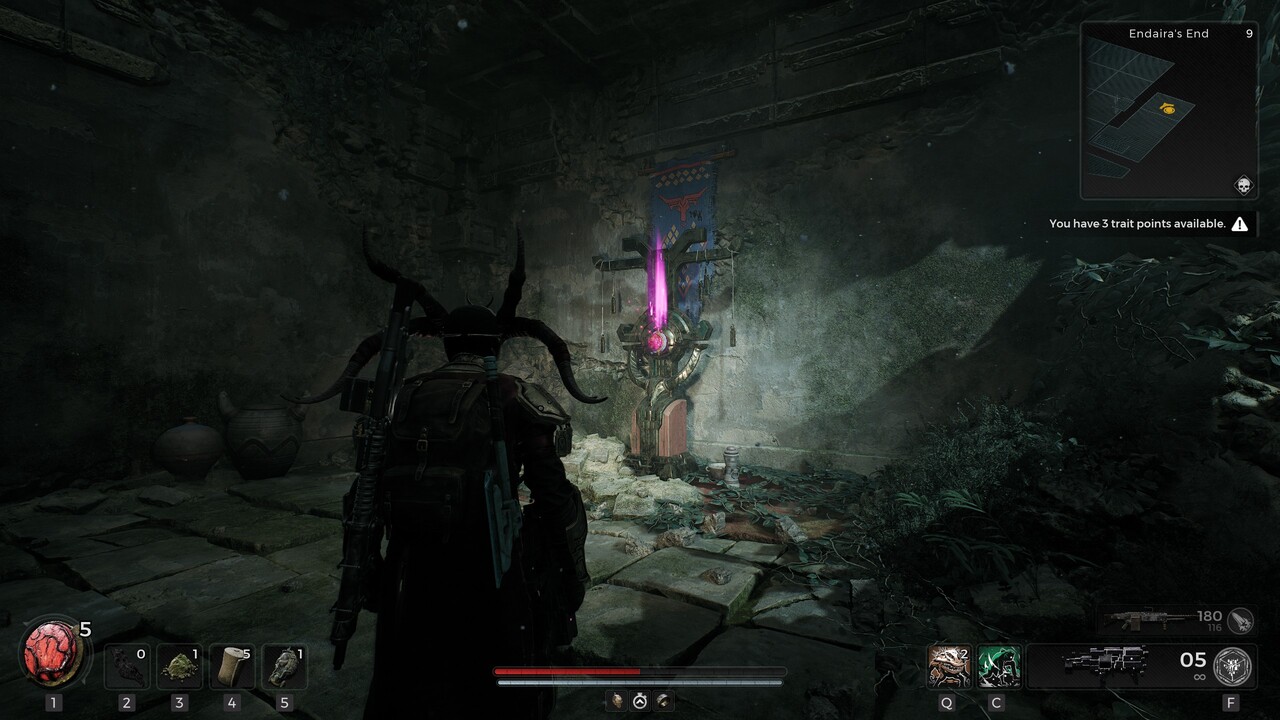
There should be a red door there.
When the player stands on the pressure plate, a wall next to the red door will open up.
The other player must step inside and initiate the red door from the other side so both can enter.
Proceed further down and meet your match with a buzz saw puzzle.
Towards the front of it is another pressure plate that a player will have to stand on.
Walls to either side and one on the other end will open up.
Have the other player pick up the items on either side of the room, then switch.
you could stand on the pressure plate while crouched or dodge side-to-side.
Sitting crouched between the buzz saws worked best for me.
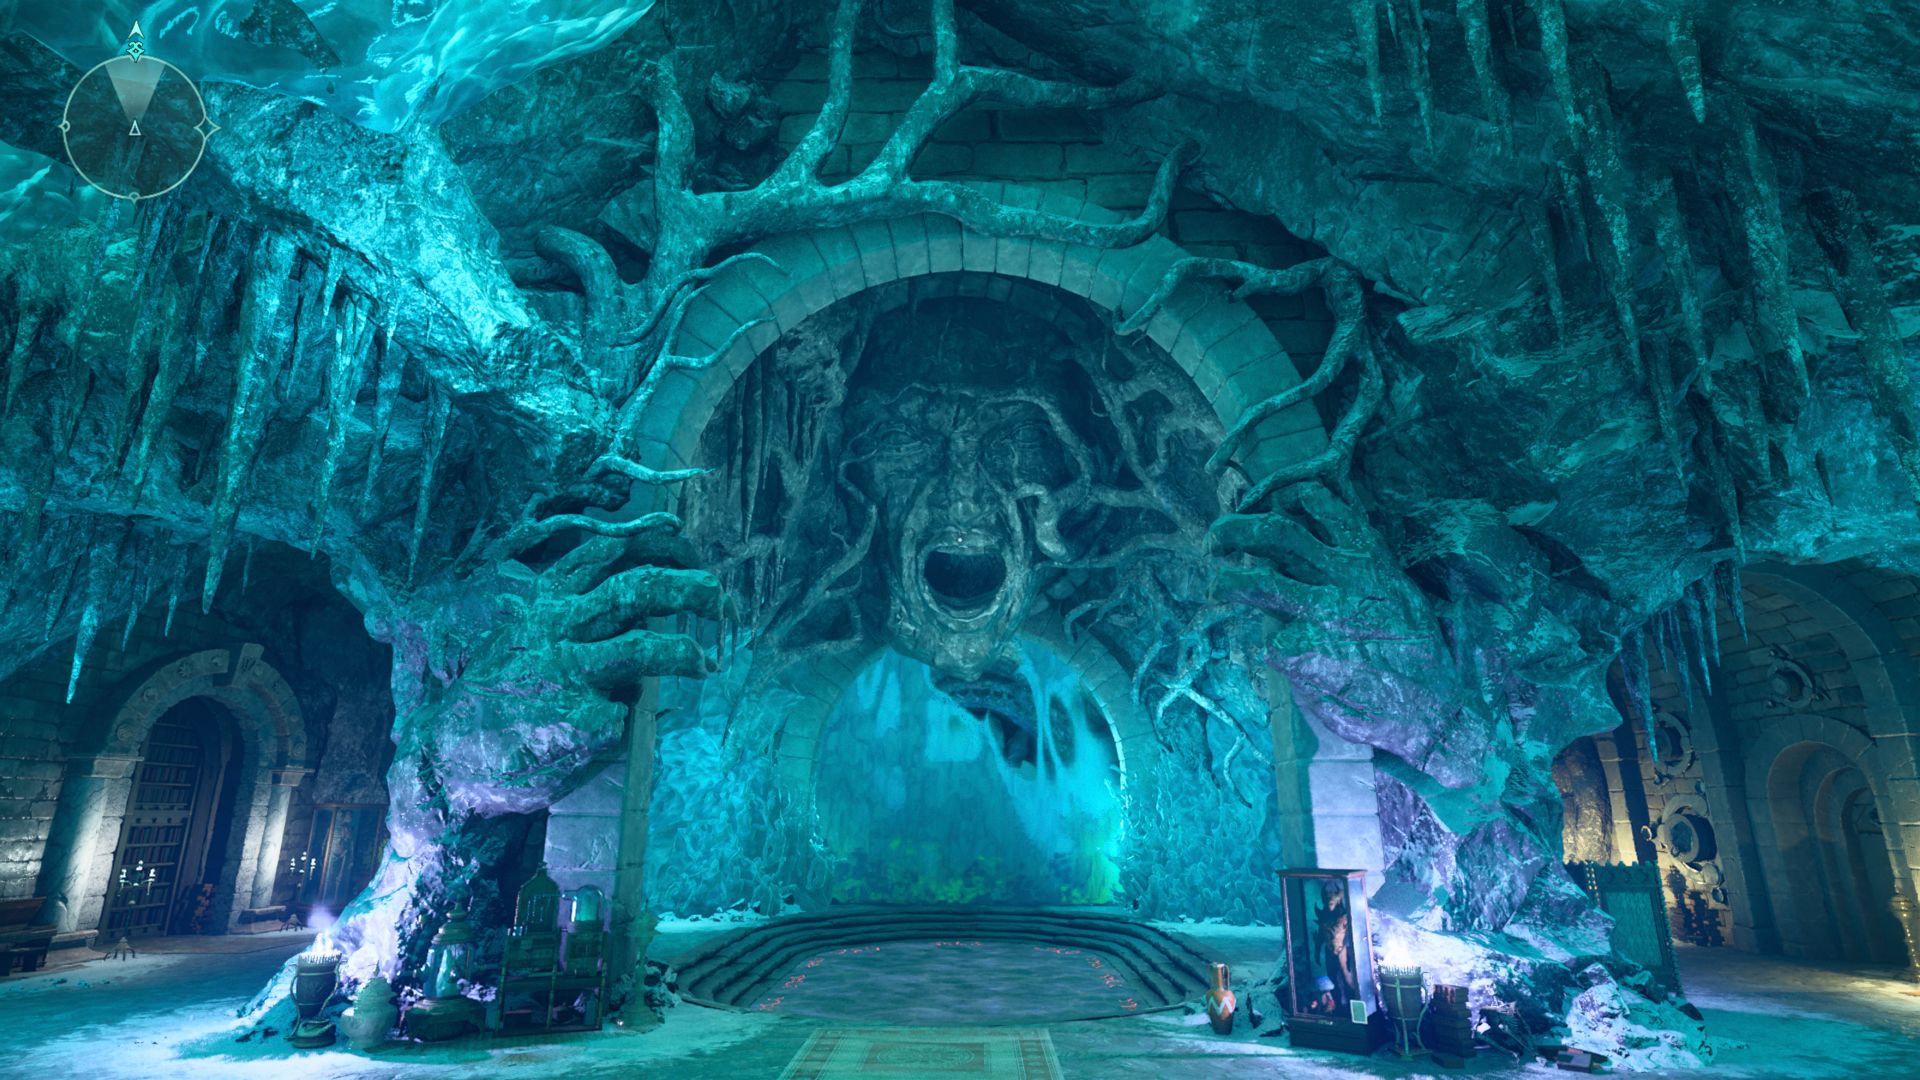
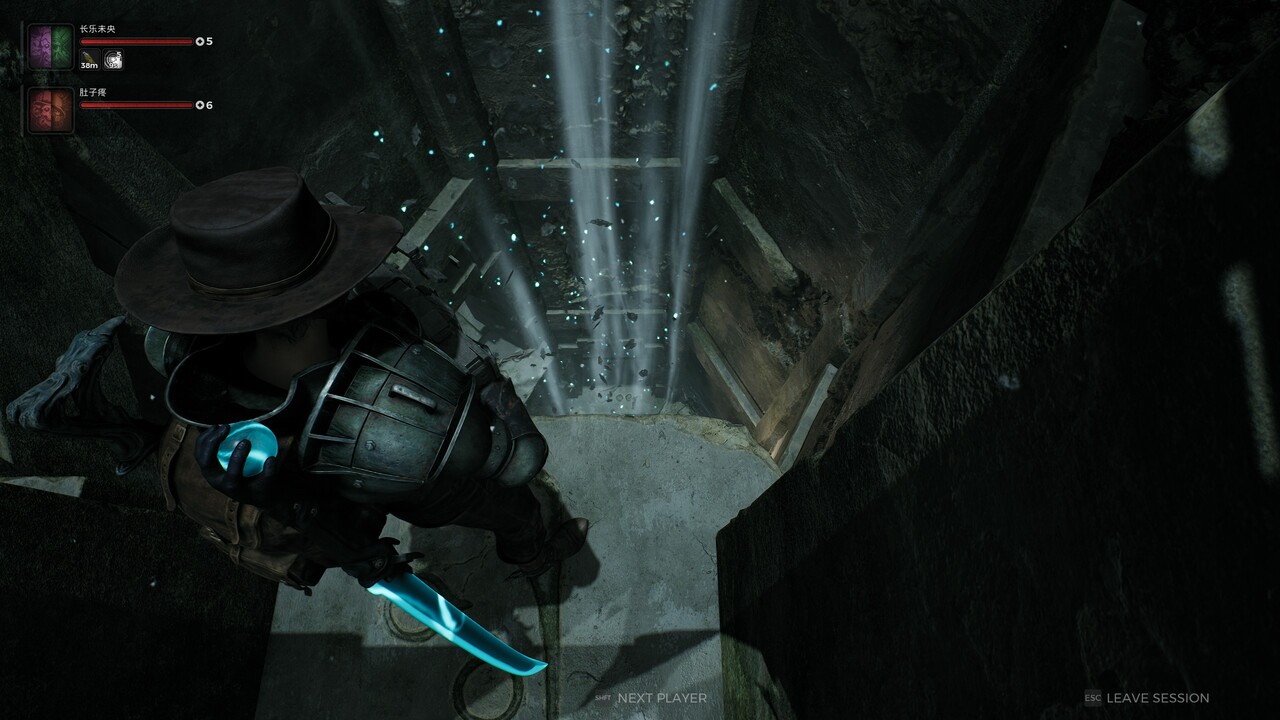
Next to them will be holes.
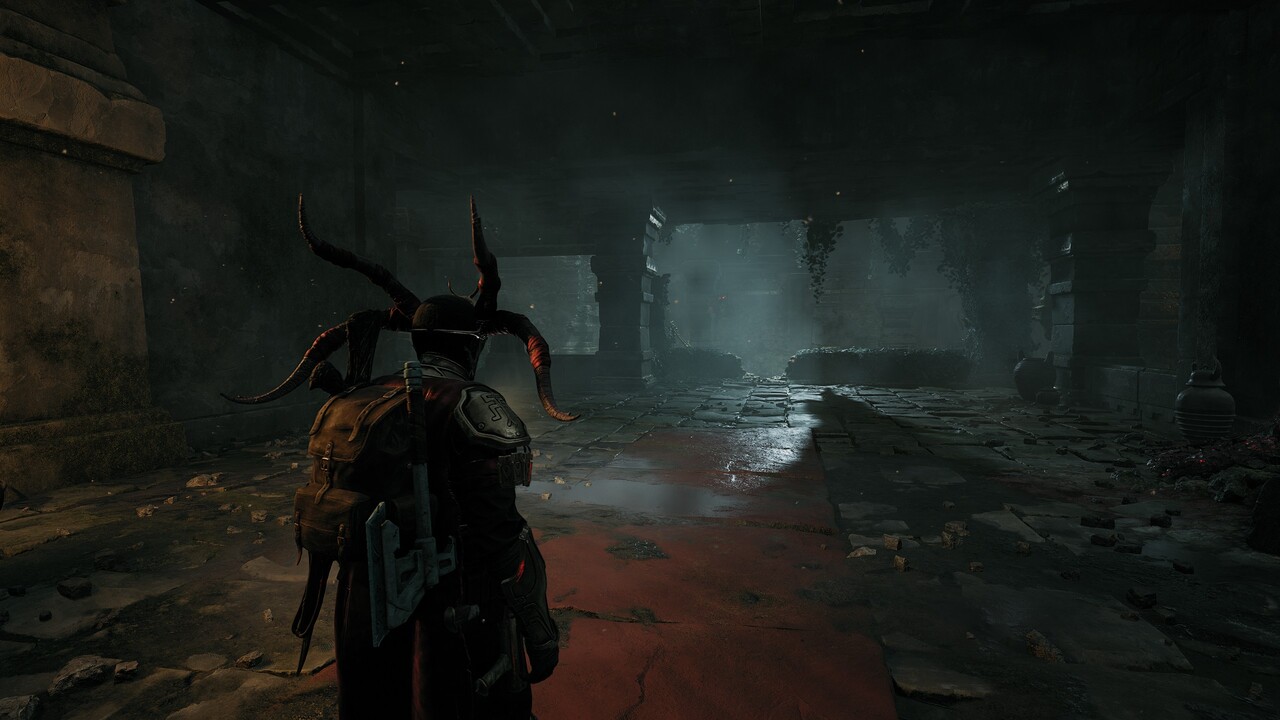
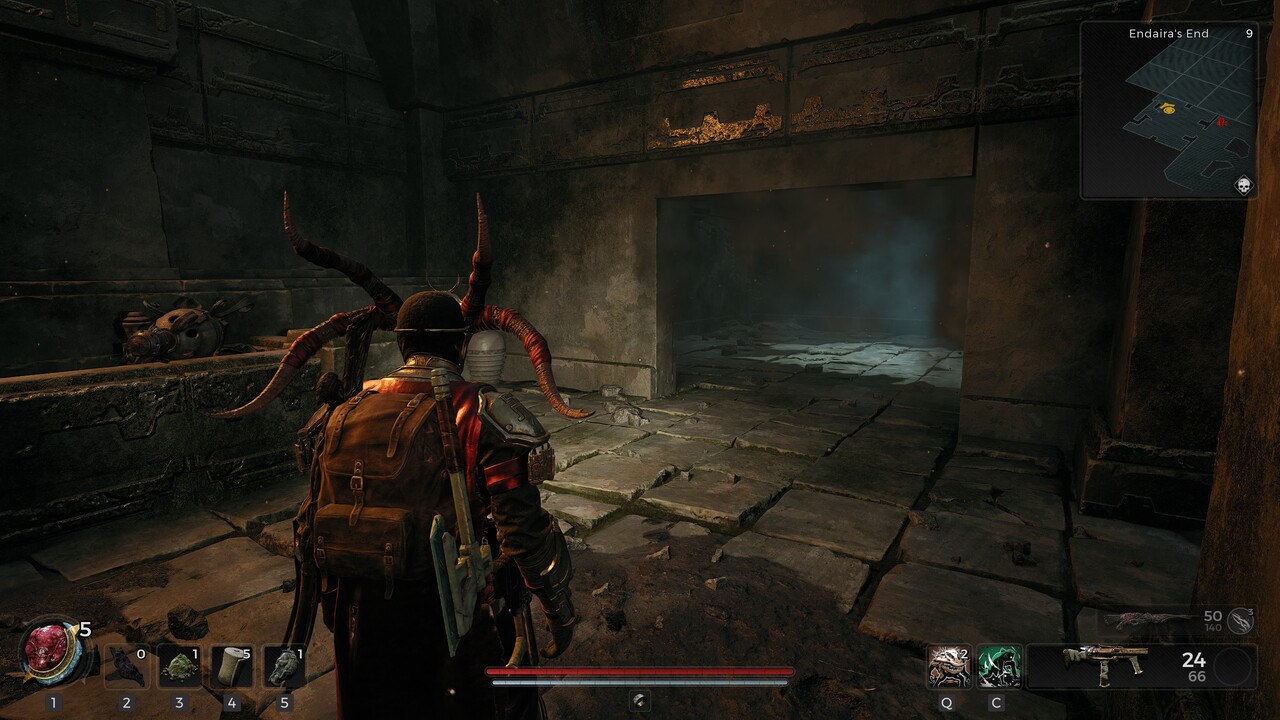
The second statue hole to the unground leads to a dark and dingy library.
Decrepit books surround the entire room, with a table placed on the lower floor.
Heading to the upper floor, an obvious ladder stands out to the player’s side.
What’s not so obvious is the pressure plate lying next to the wall opposite the ladder.
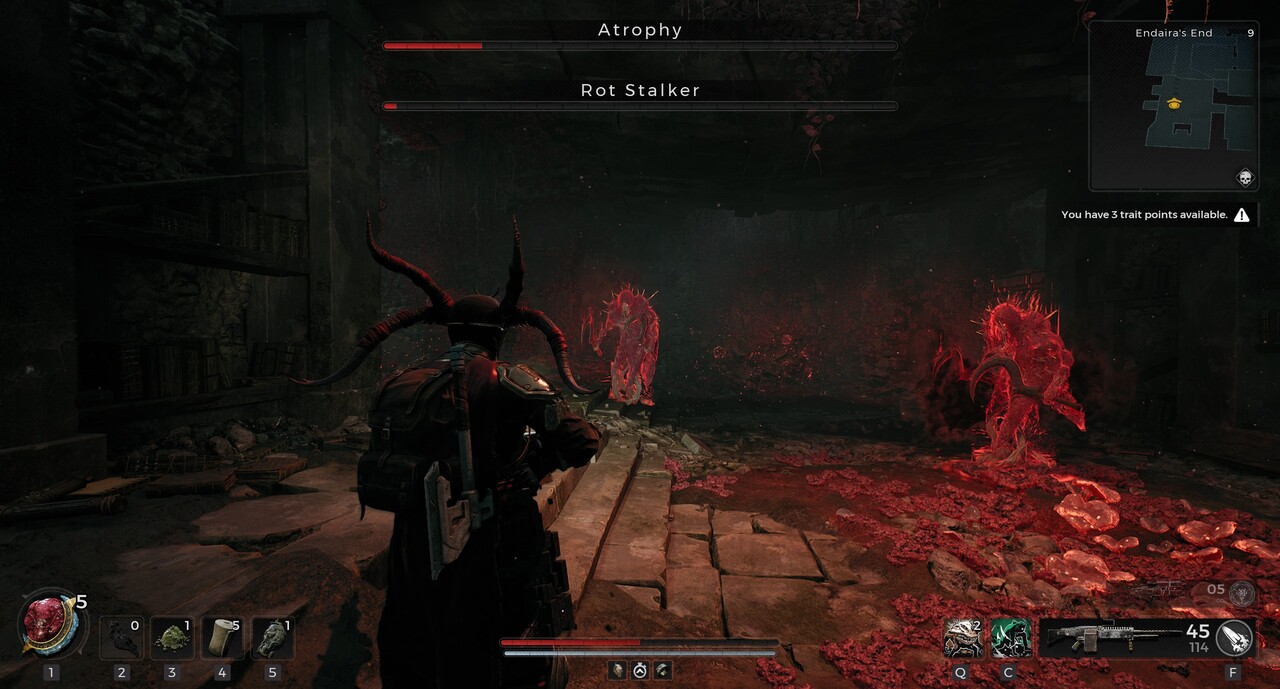
Atrophy and Rot, the dual boss, lie in wait.
After you deal a considerable amount of damage, he’ll disappear into the floor.
He’s easily taken out, as his actual health pool is small compared toAtrophyduring phase one.
If not, I did it solo on my first try.
you could do this!

Let’s take care of the first one.
In total, five notes can be played.
As I said, the second puzzle or solution requires a coop partner.
Proving it’s possible.
Each player must step on their corresponding note simultaneously as the other player steps on theirs.
You’ll need to be precise, so figure out some form of communication between you two first.

Possibly join a party chat or Discord channel to achieve this.
The second platform will rise from the ground and award you the ring calledTempest Conduit.
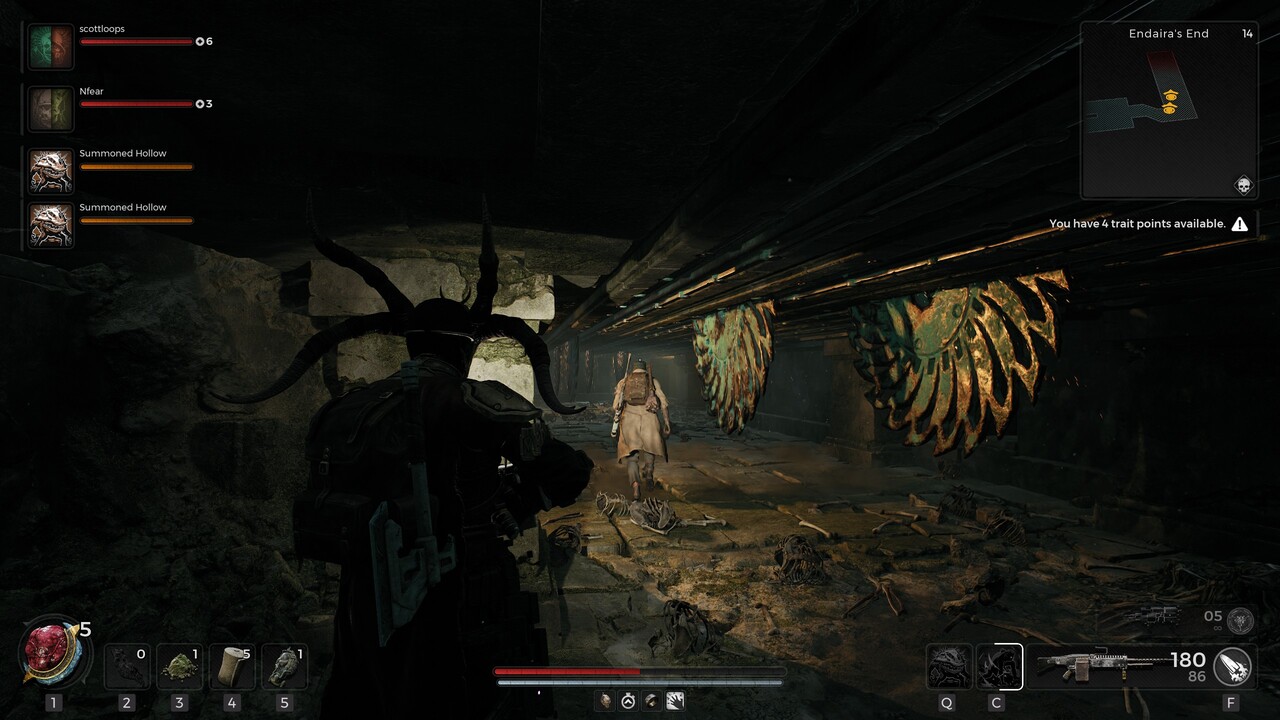
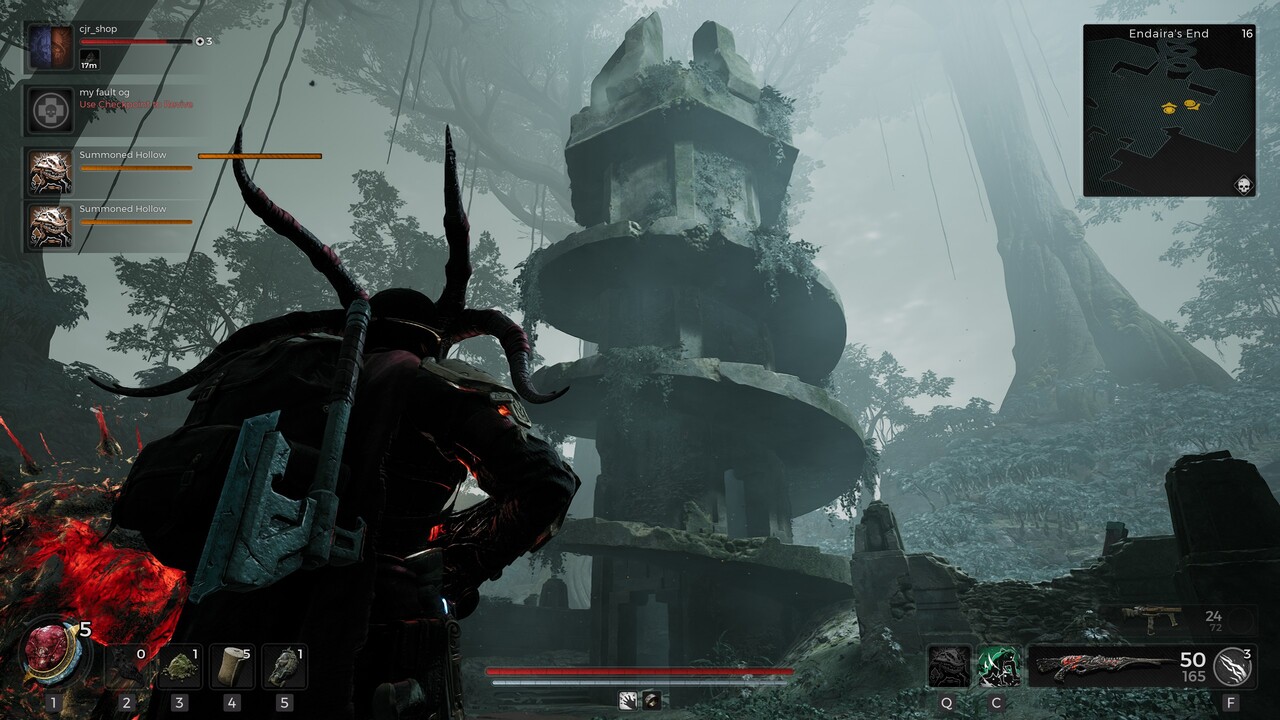
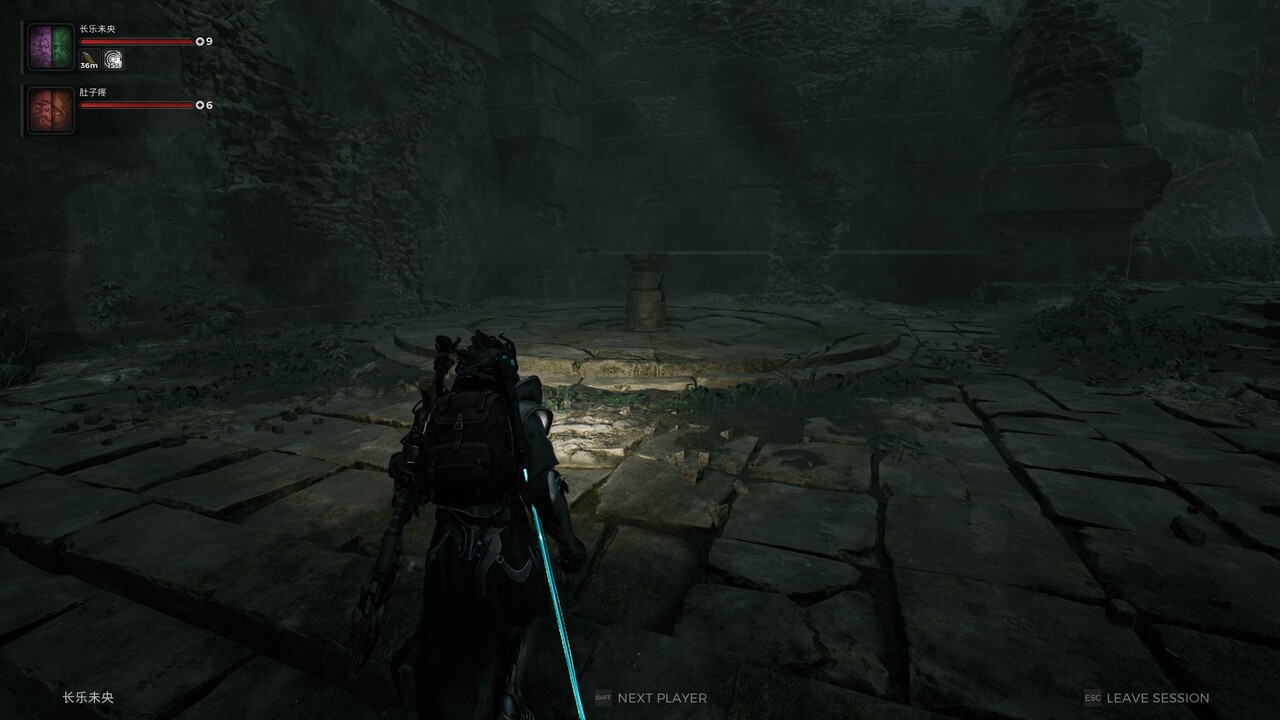
Later on in the area, you’ll come across a waterfall coming from the top of the dungeon.

Walk through the wall, and you’ll discover it’s illusionary.
Inside is a small handful of enemies, as well as theArcher’s Crestring.
Walking against the wall and vaulting will let you into the room.

Killing the enemies within, you’re able to pick up theArchers Crest ring.
This will gift you increased weapon projectile speed and decreased weapon charge time for select weapons.
It increases projectile speed by 20% and decreases weapon charge time by 25%.

There is also a variation of the Wind Chime layout that doesn’t end this way.
More Yaesha guides to come.