When you purchase through links on our site, we may earn an affiliate commission.Heres how it works.
TheROG AllySSD upgrading process is actually really easy, as you’ll see in this guide.
What are my ROG Ally SSD options?

The ROG Ally 2 could really benefit from offering a larger SSD capacity than the first gen did.
Simply plug it into your ROG Ally, and you’ll have access to an external SSD.
Clone or image your internal SSD and save it to the external SSD to back up your data.
Now you’re good to play your ROG Ally with the new WD_Black SN770M SSD installed.

There are three main ways to update your ROG Ally’s SSD capacity.
ROG Ally SSD upgrade FAQ
Does ROG Ally support external hard drives?
What kind of SSD comes installed in the ROG Ally?
The ROG Ally comes with a Micron 2400 512GB m.2 NVMe Gen 4 SSD installed.

What is an image backup?
Does ROG Ally have a microSD card malfunction problem?
However, there is more to do on a software level.

This can be accomplished with an SSD enclosure adapter and computer or with an external SSD.
The adapter route is far more affordable, but the SSD route is more convenient.
So you’ll have to decide which one is a better fit for you.


Make sure you have the proper tools before upgrading your SSD.


Before doing anything else, you need to turn off your ROG Ally off completely.

Place the ROG Ally down screen-first on a clean surface.

Unscrew the screws on the back leaving the center bottom one for last.

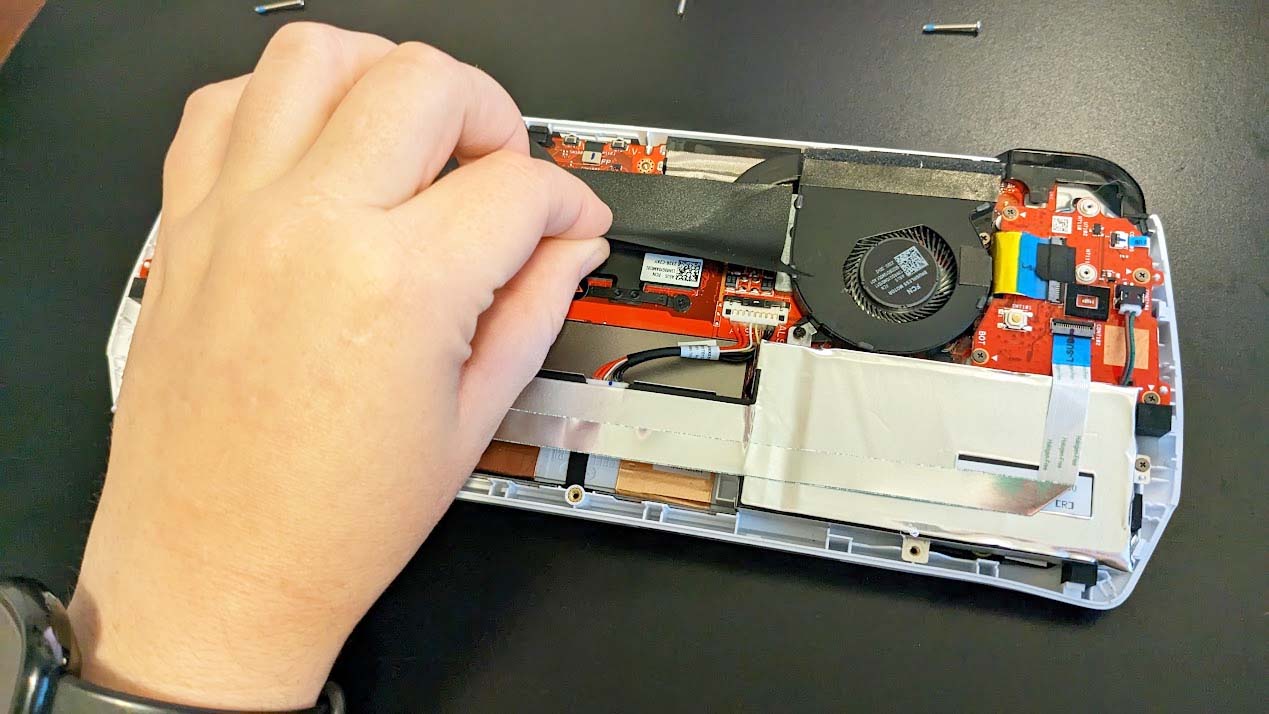
Use a plastic pick to pull the ROG Ally casing apart.
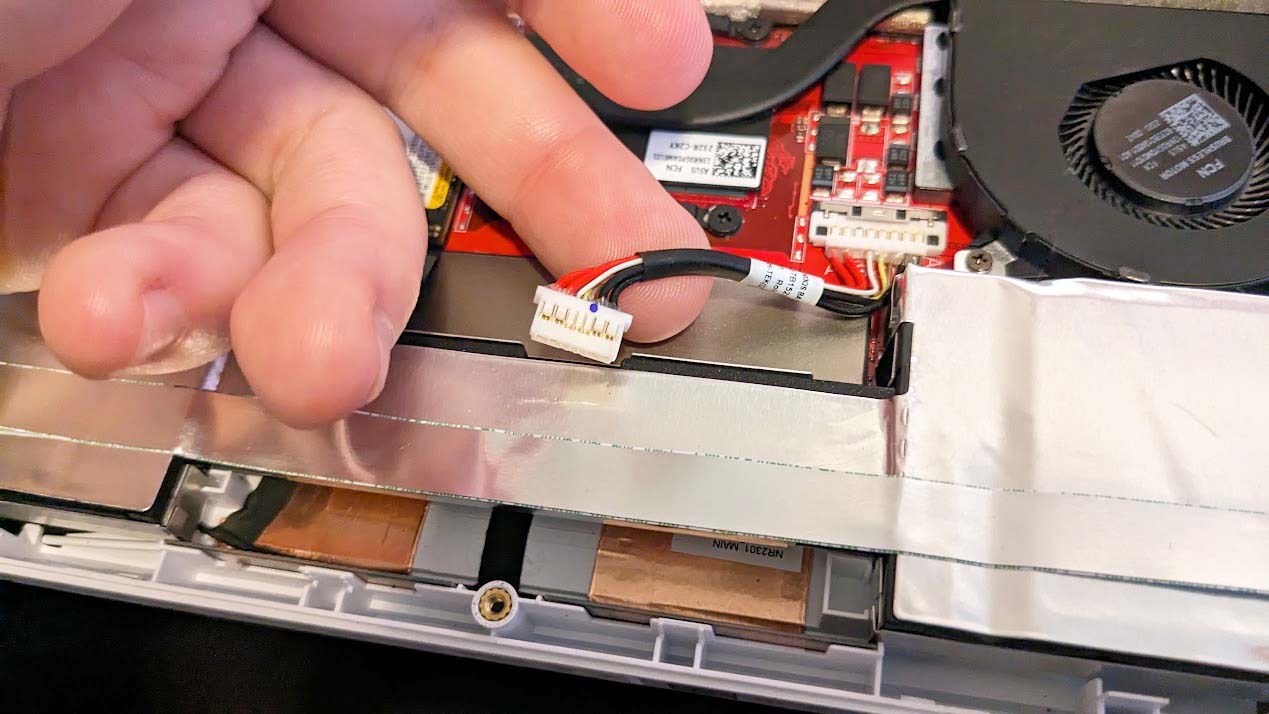
Safely unplug the ROG Ally battery.
Remove the black sticker on the ROG Ally to get better access to the SSD.
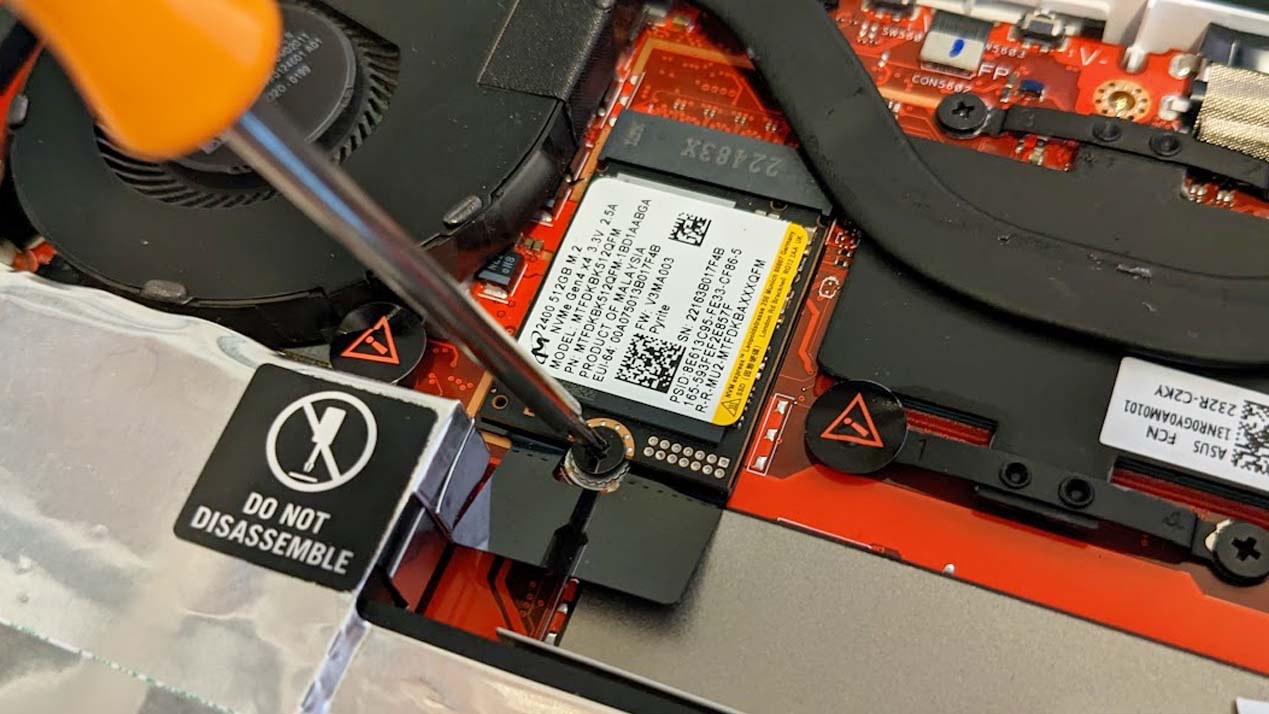
Unscrew the small M2 screw that holds the ROG Ally’s SSD in place.
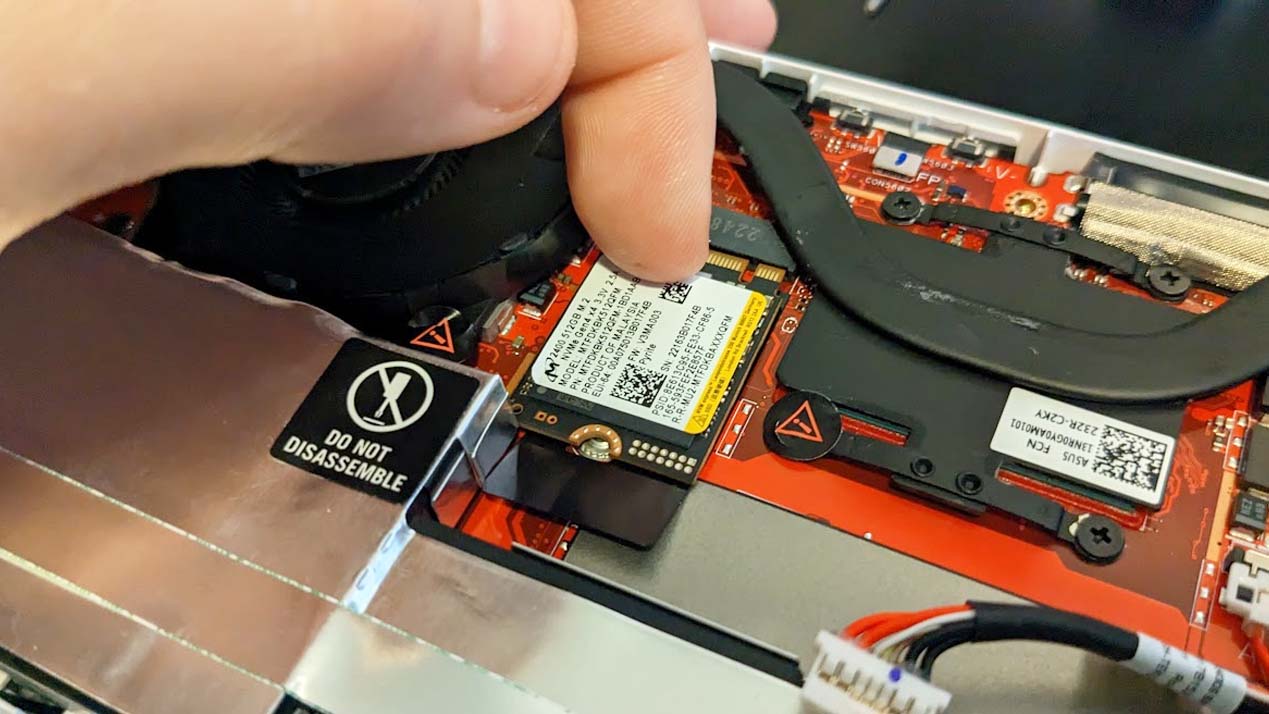
Carefully remove the SSD from the ROG Ally.
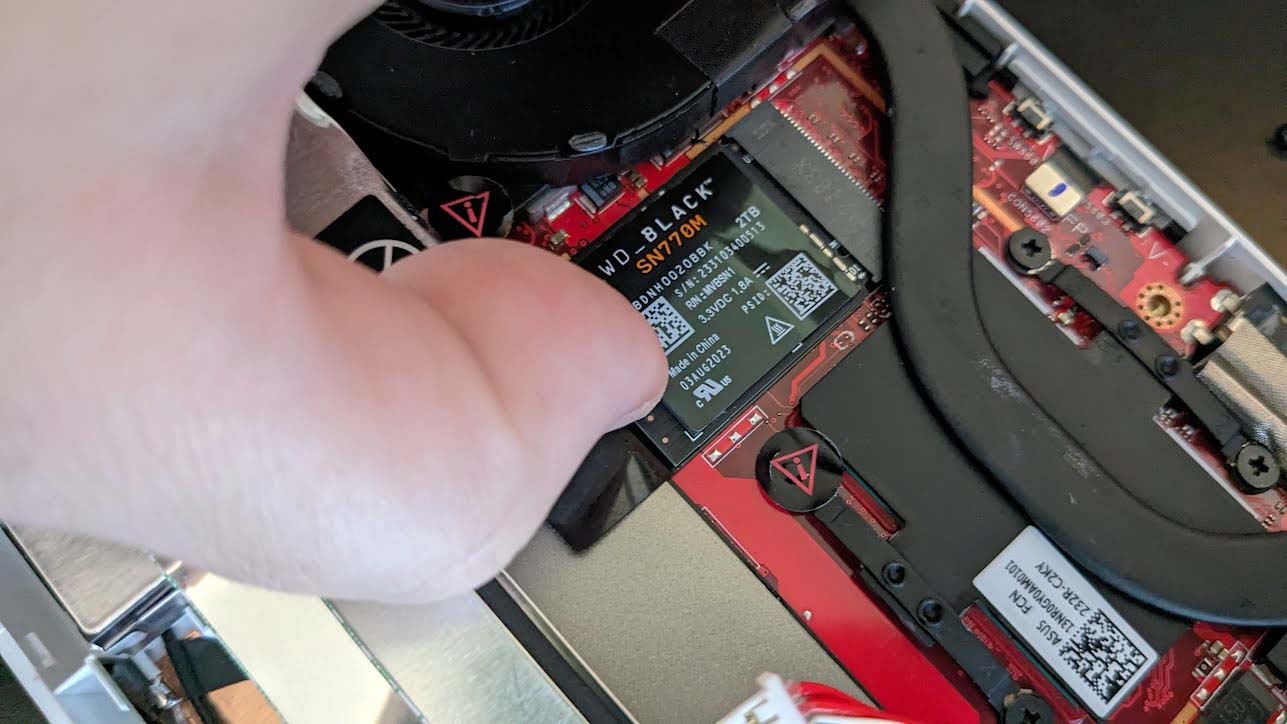
Insert the new SSD by pushing it up into the contact points.

Cover the components once more with the protective black sticker.
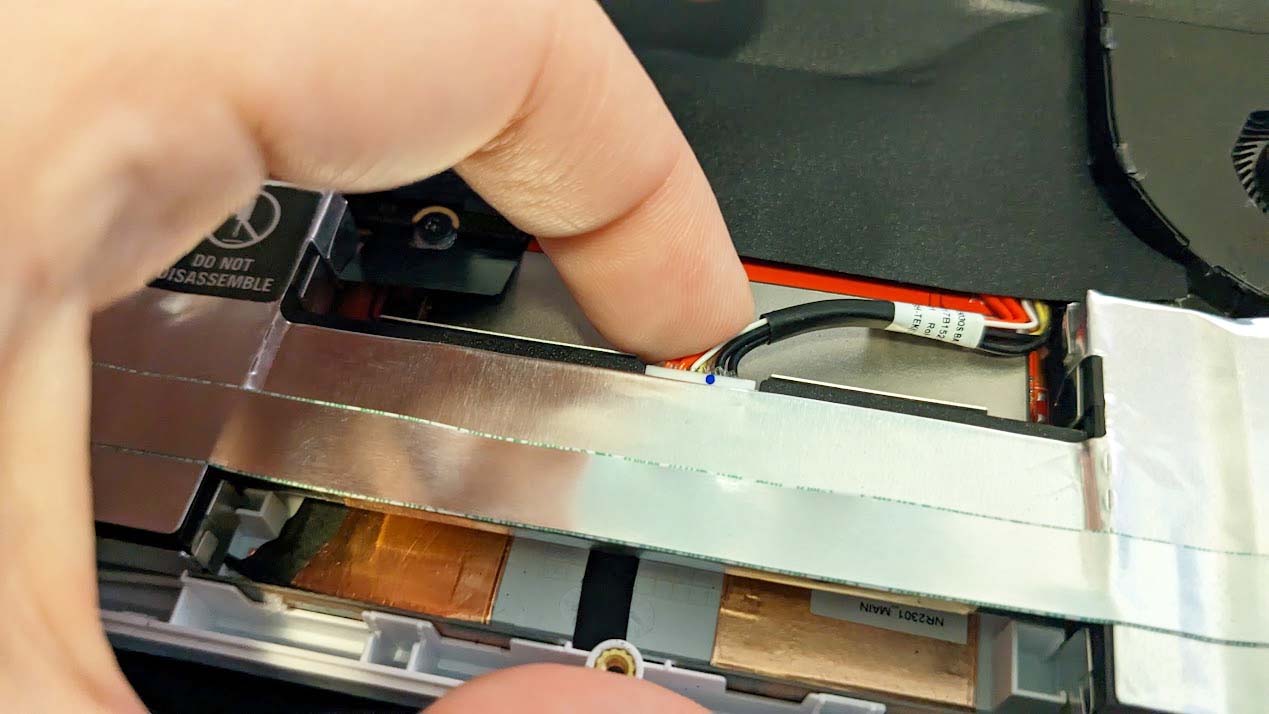
Plug the ROG Ally’s battery back in.

Squeeze the casing all around the ROG Ally until its all back together.

Screw the ROG Ally’s screws back into place.
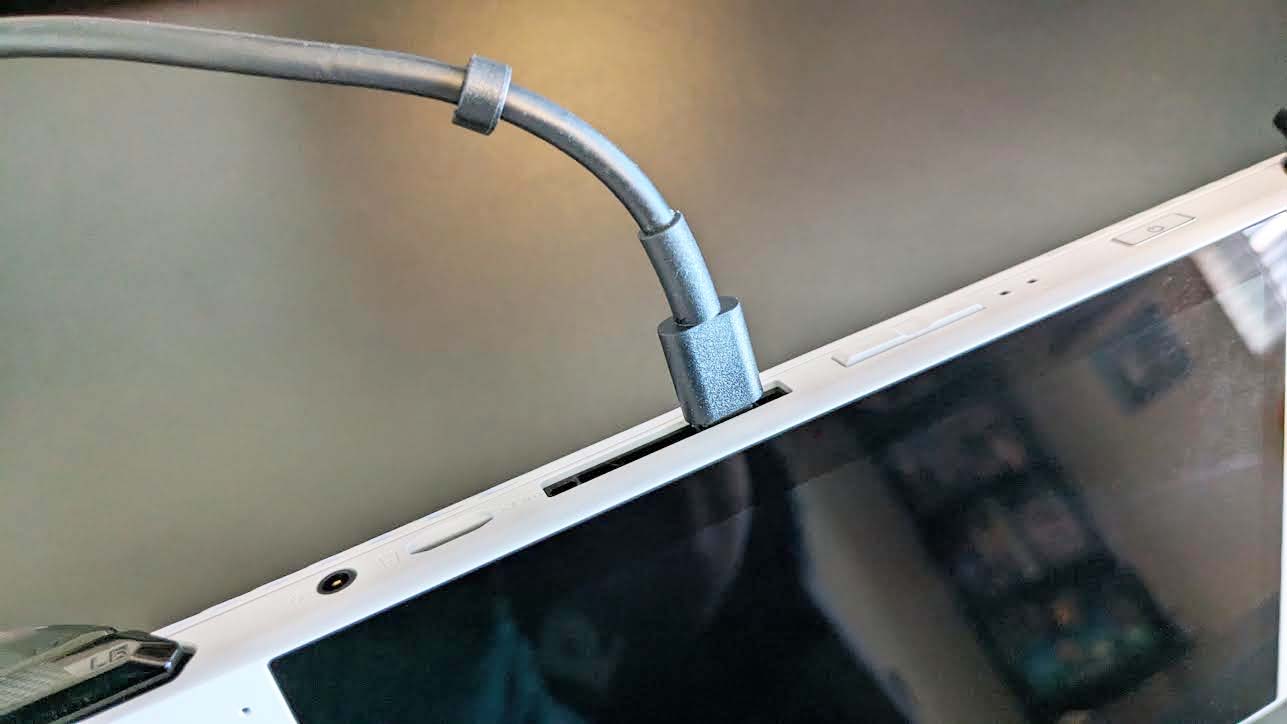
Plug in the official adapter.

Hold the power button until the ROG Ally turns back on.

Press Y to go to the ROG Ally’s Advanced Settings.
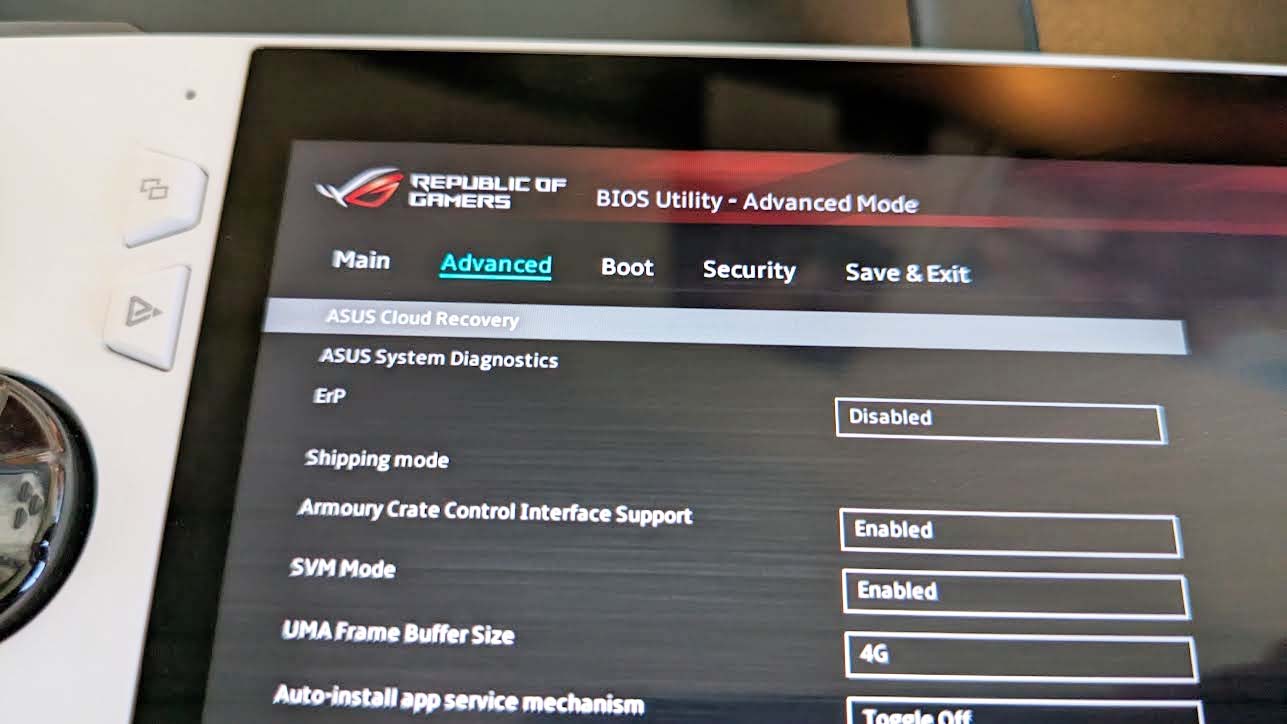
Maneuver to the Advanced Tab and select ASUS Cloud Recovery.
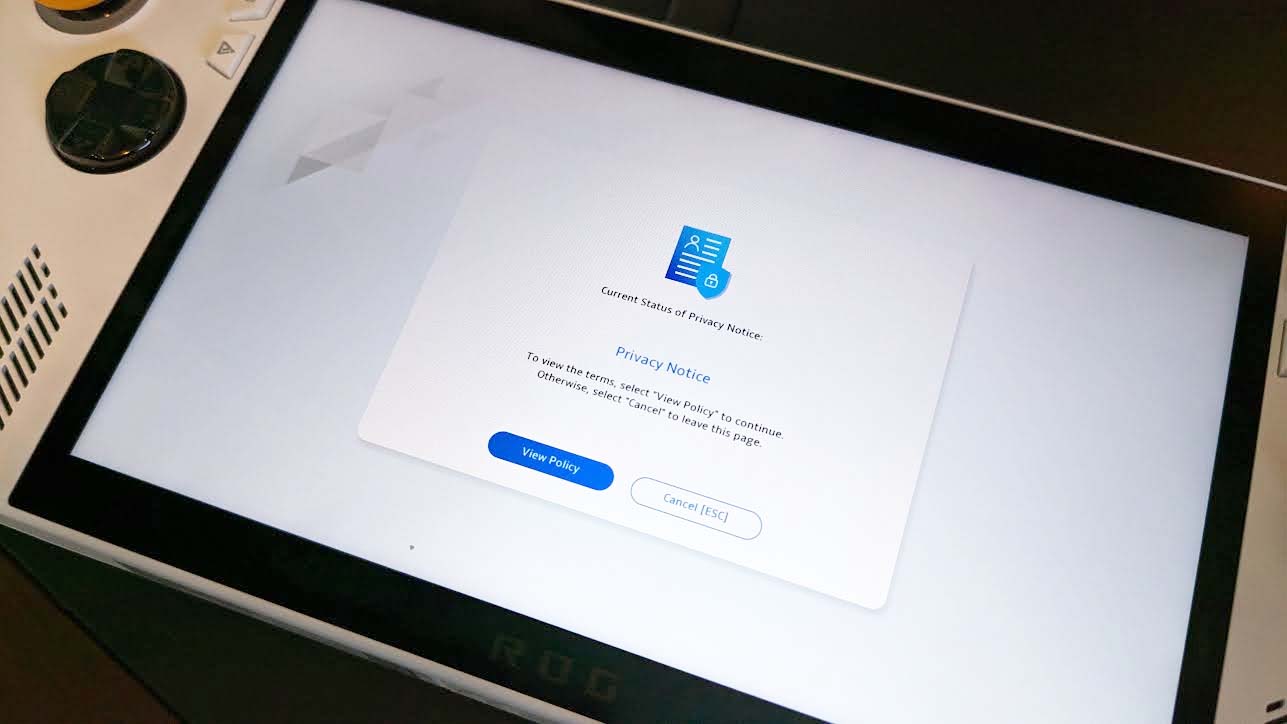
Before continuing, you must click View policy.
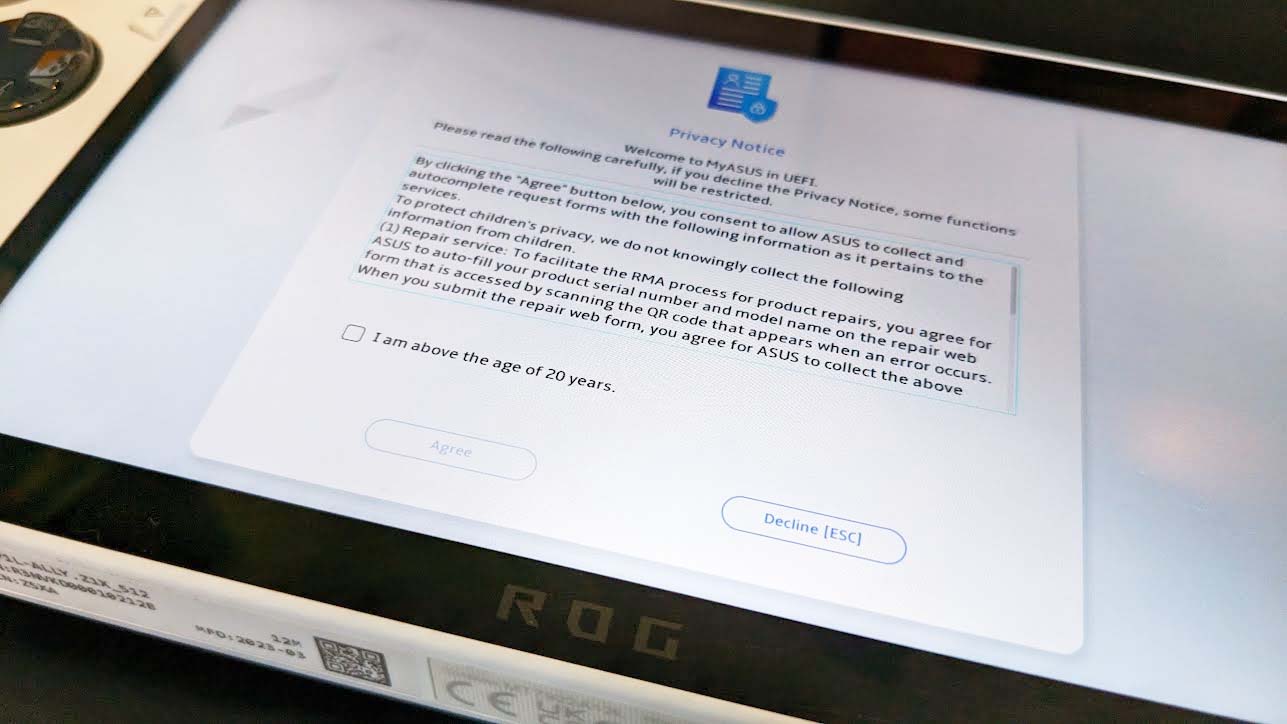
Confirm that you are old enough and the select Agree.
![ROG Ally SSD upgrad: Select Next [Enter] for Wi-Fi.](https://cdn.mos.cms.futurecdn.net/o4xKSamgU5BSNGpRMe9qEi.jpg)
Select Next [Enter] to work on connecting to Wi-Fi.
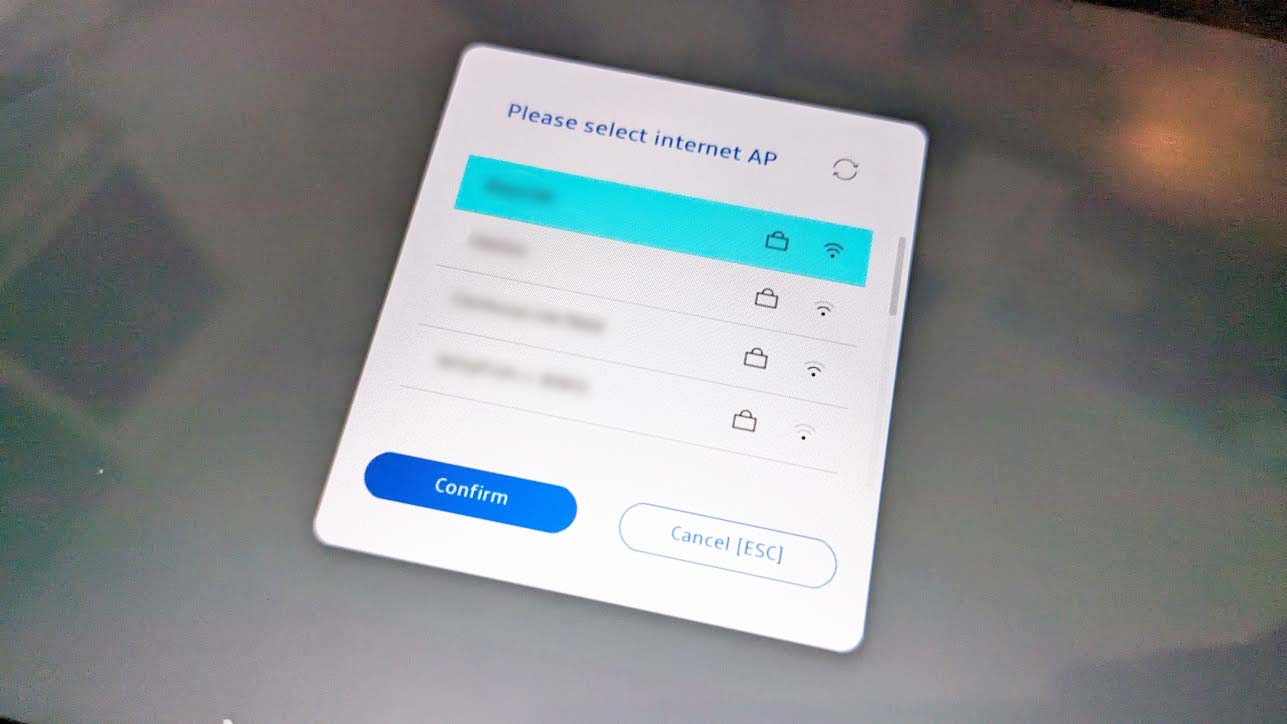
Select your Wi-Fi network.
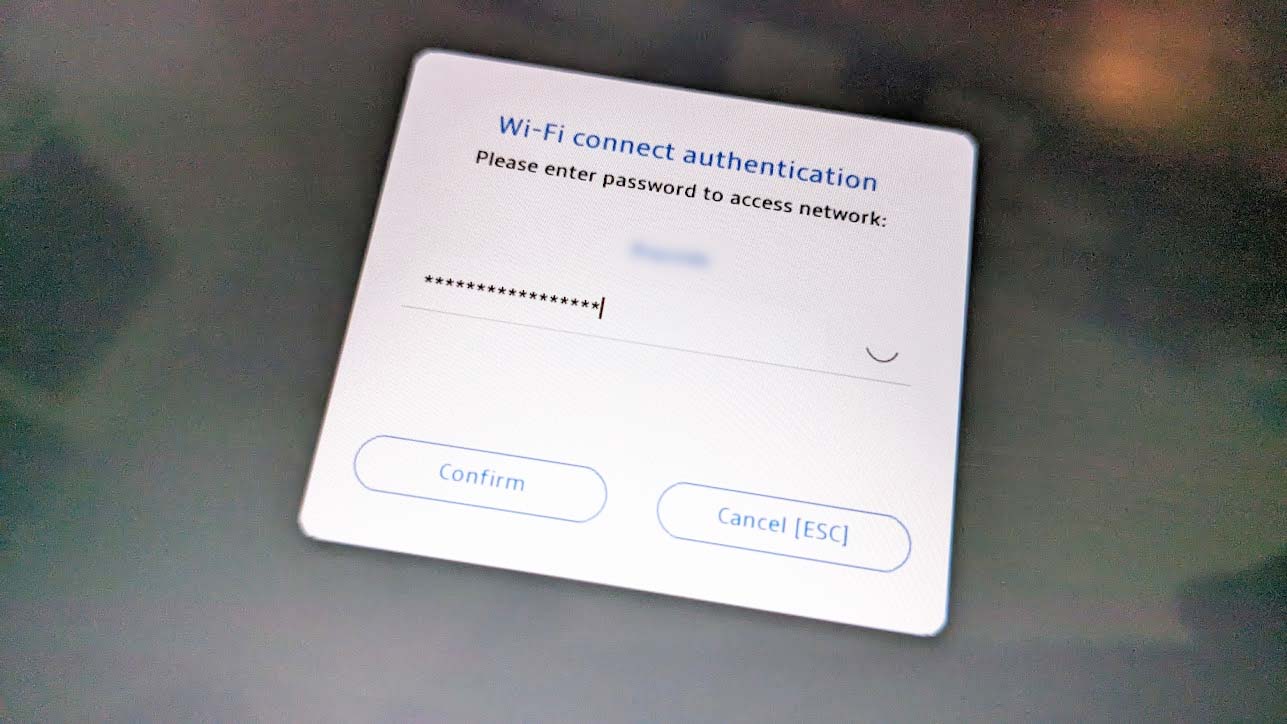
Login to your Wi-Fi and then press Confirm.
![ROG Ally SSD upgrade: OK [Enter]](https://cdn.mos.cms.futurecdn.net/4i9yo64w8YCPRmri7N9wMi.jpg)
Select OK [Enter] to continue.
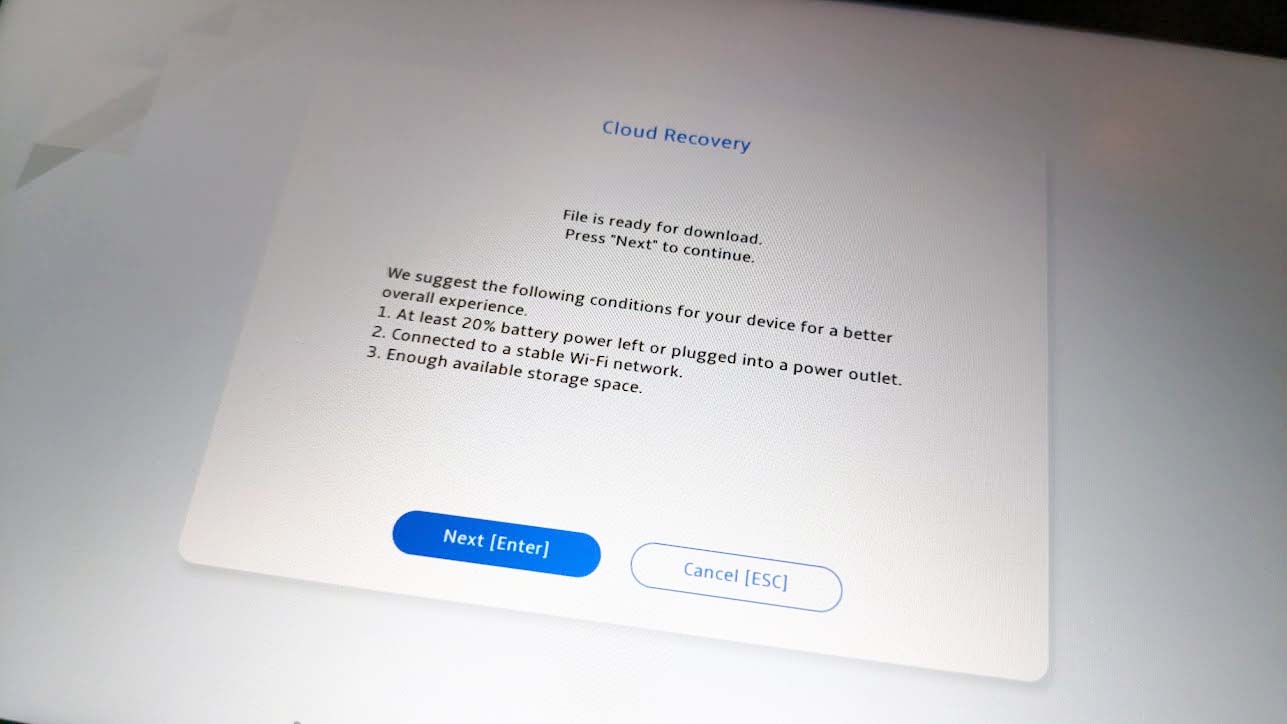
Select Next [Enter] to start the Cloud Recovery download.
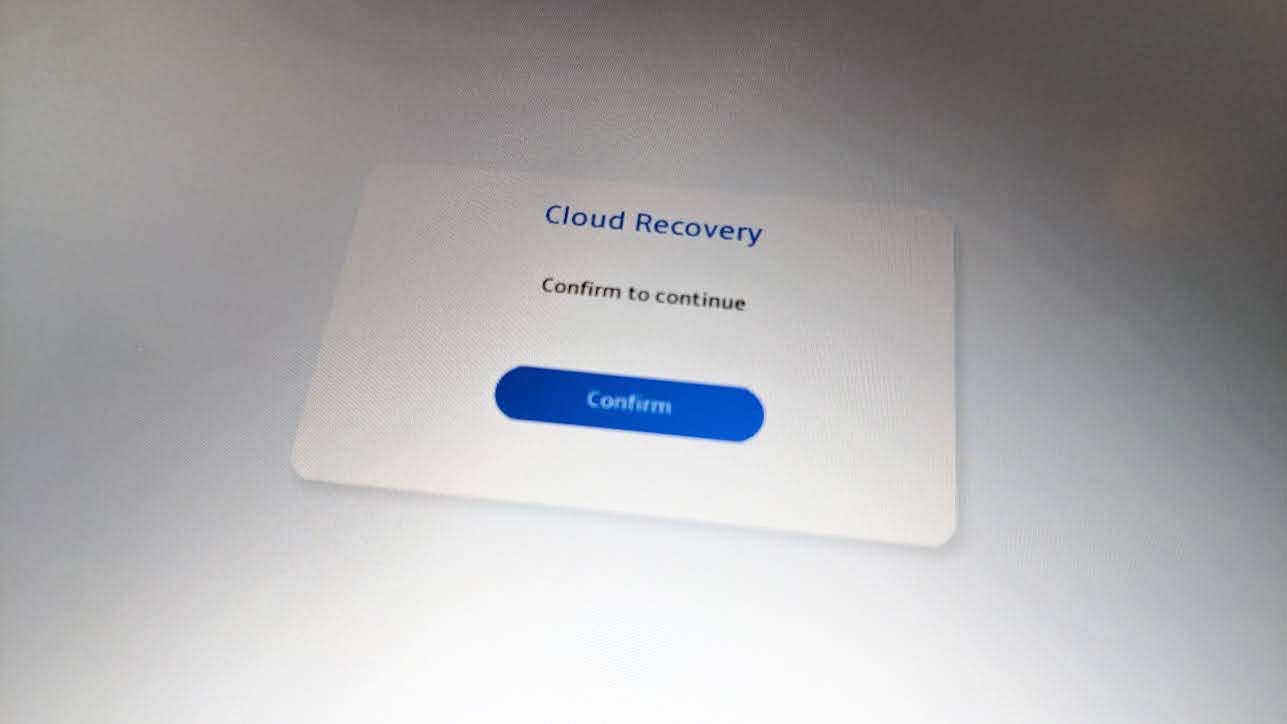
Tap Confirm to keep going.
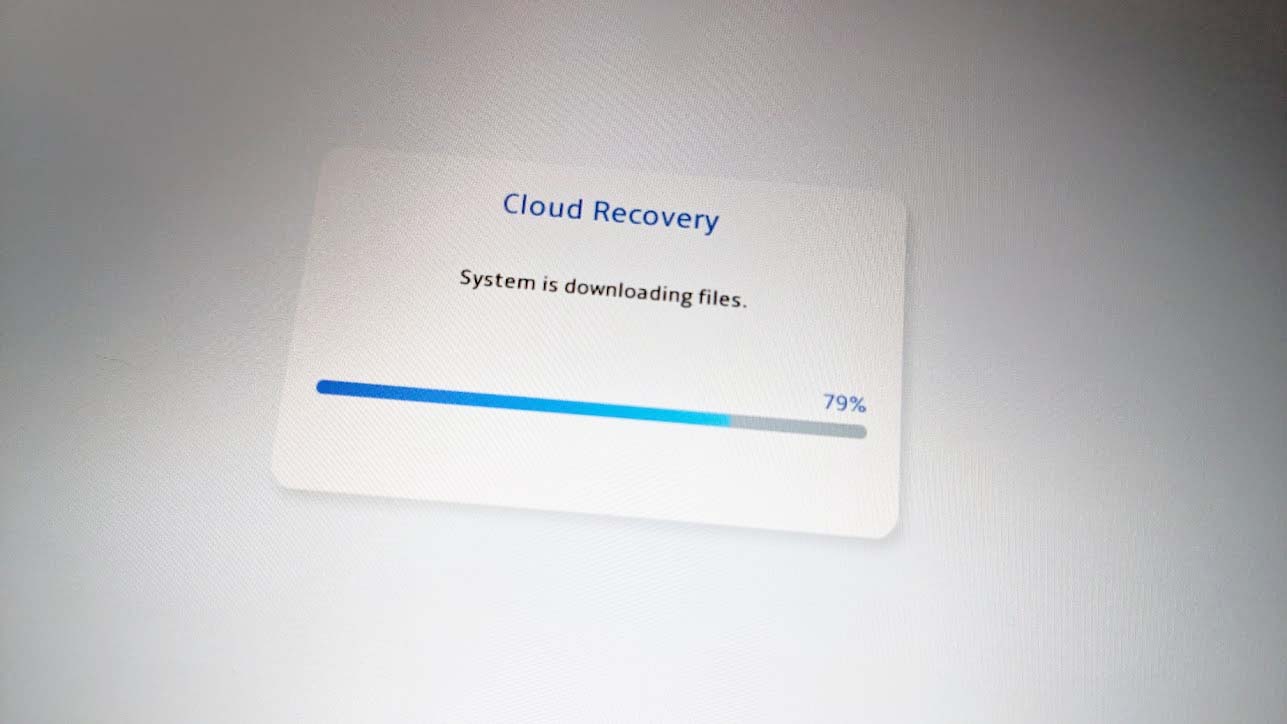
You’ll now need to wait while
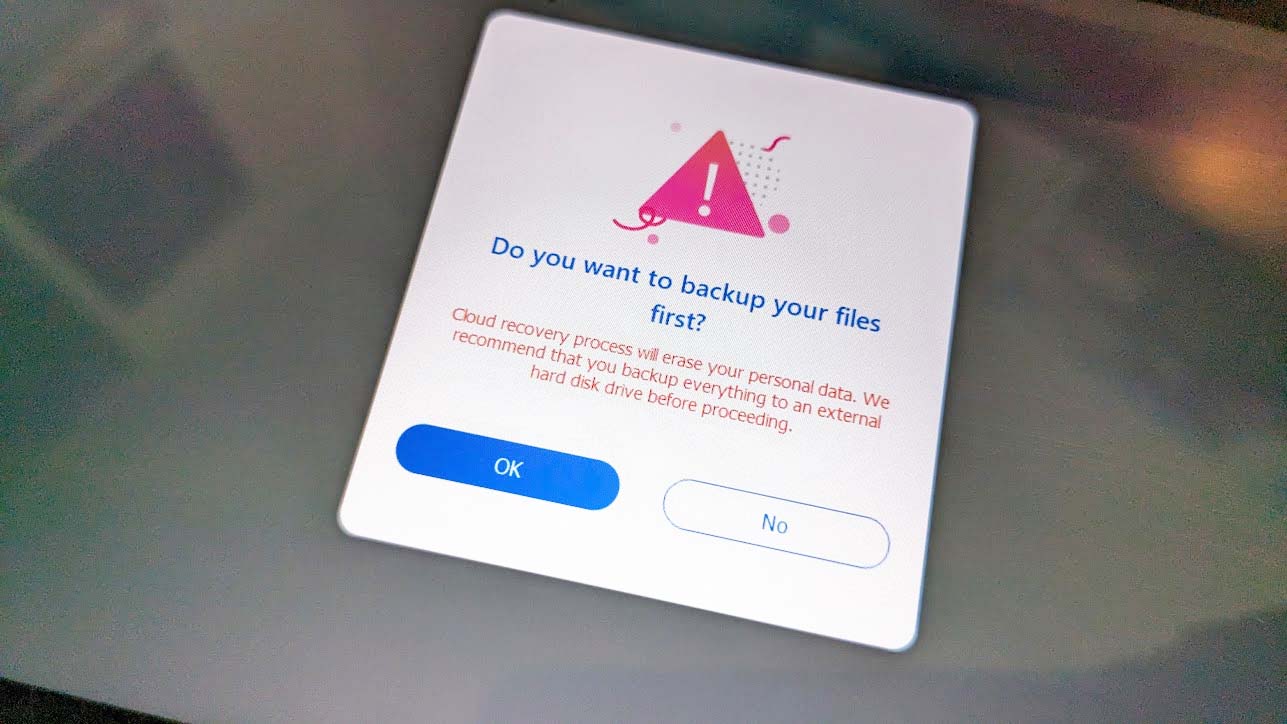
Select Yes to back up your data to your external drive or select No to erase your data.
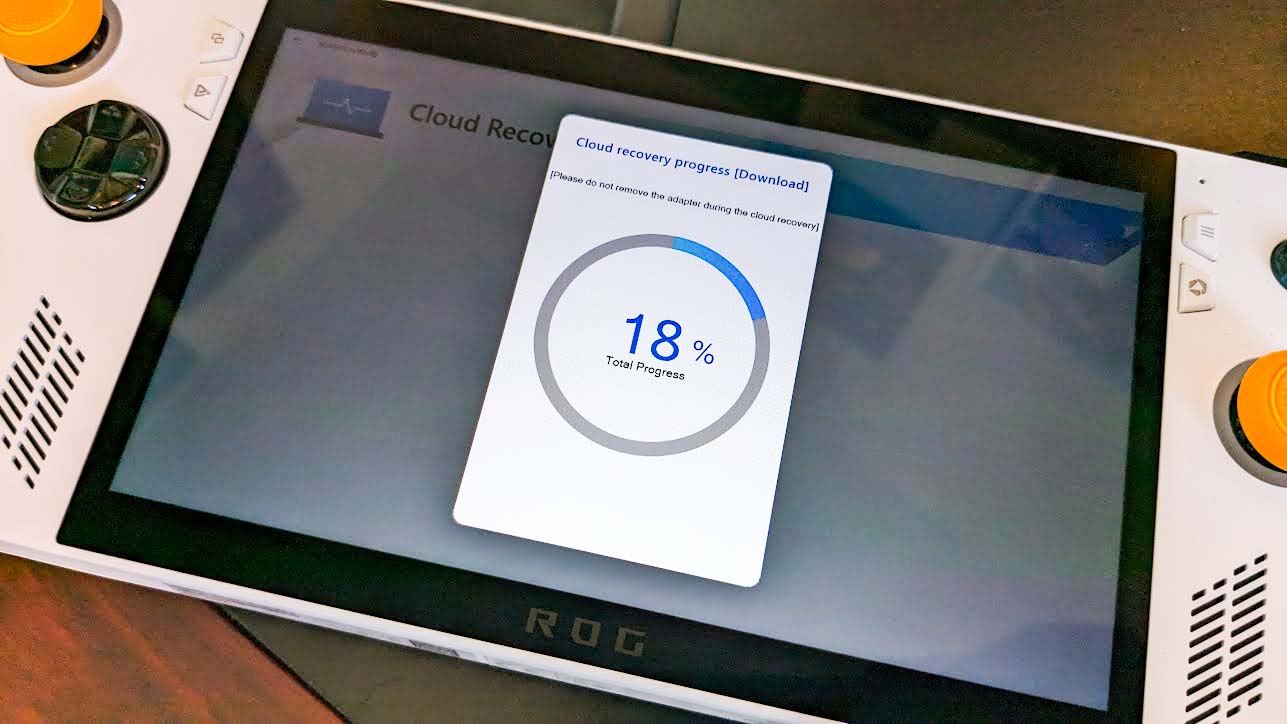
Wait for Cloud Recovery process to complete. This can take a very long time.