When you purchase through links on our site, we may earn an affiliate commission.Heres how it works.
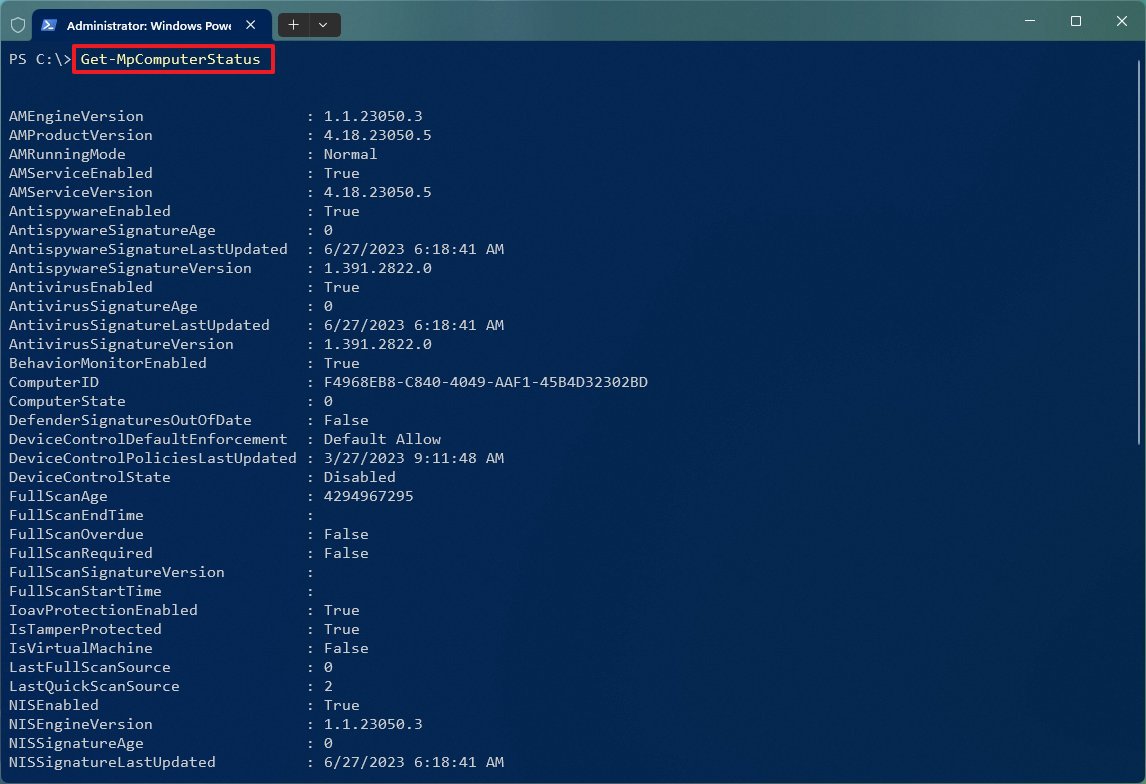
Thishow-to guidewill walk you through the essential commands to control the Windows 11 antivirus with PowerShell.
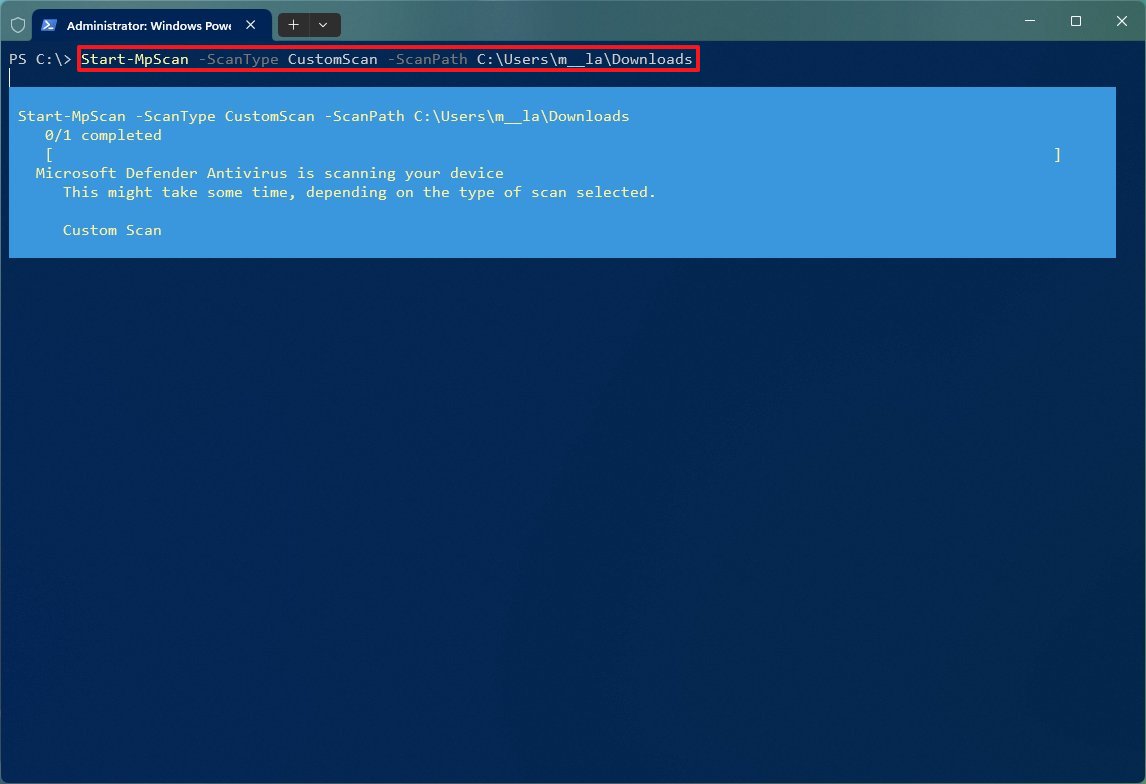
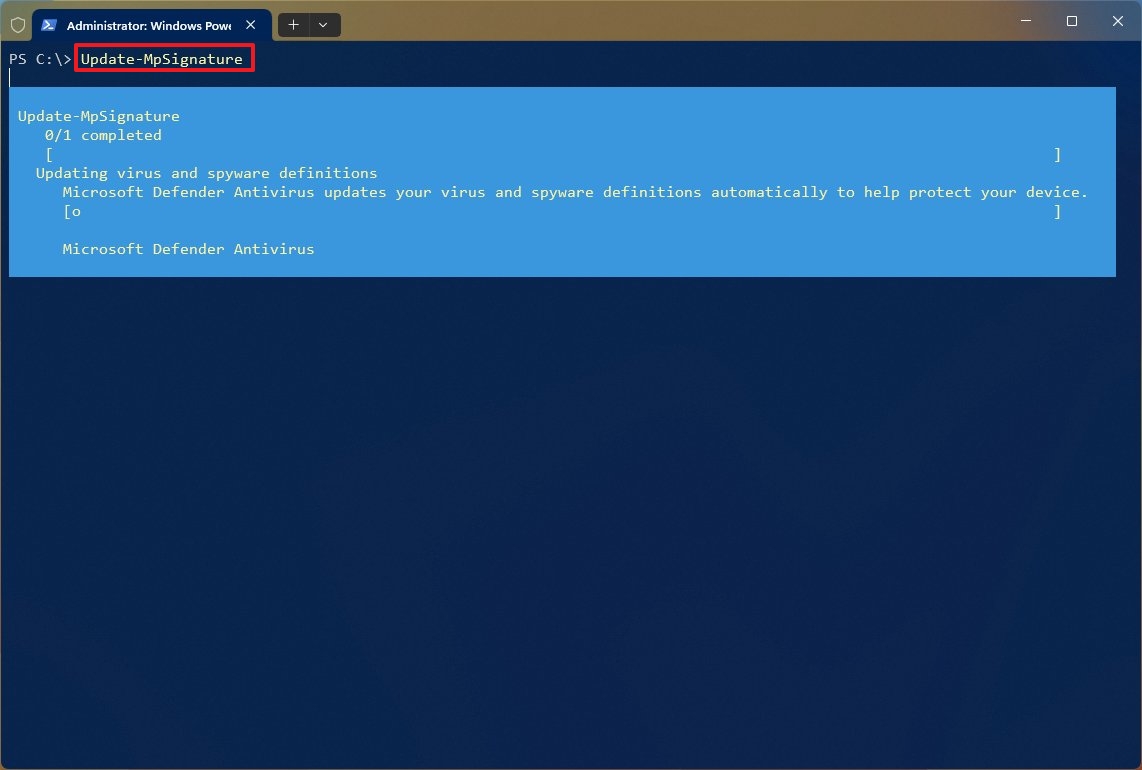
(This command may take a few moments to run.)
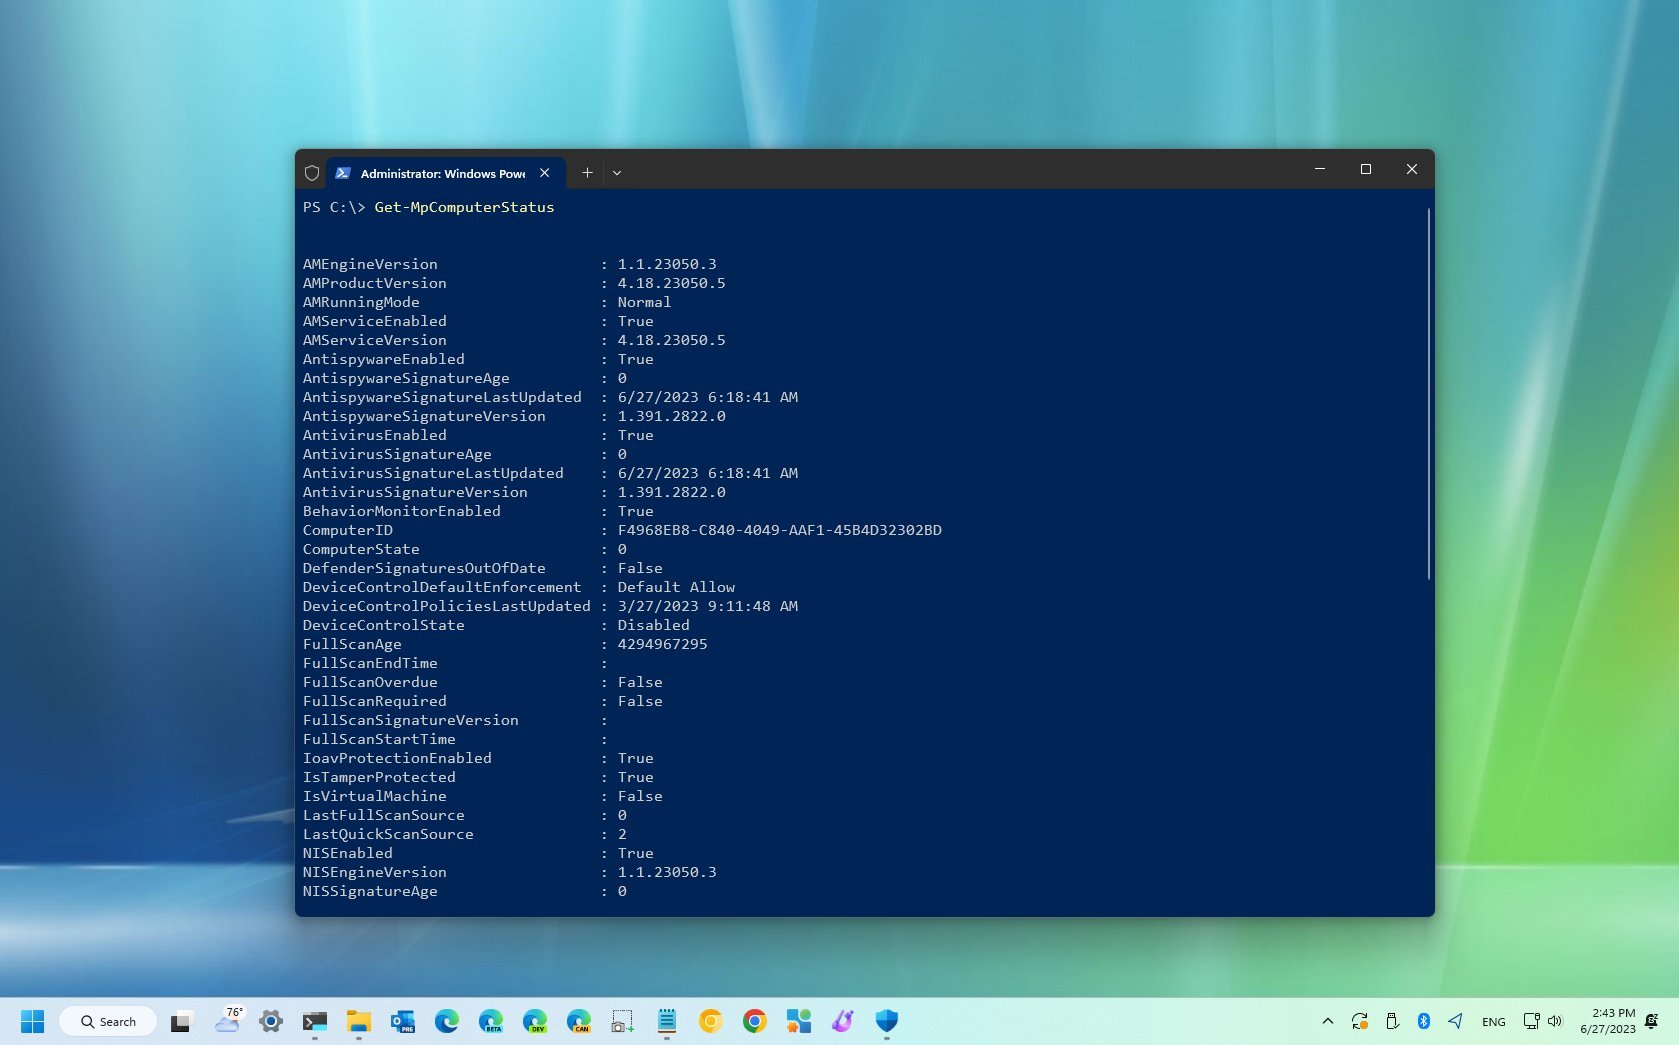
Defender Antivirus PowerShell commands
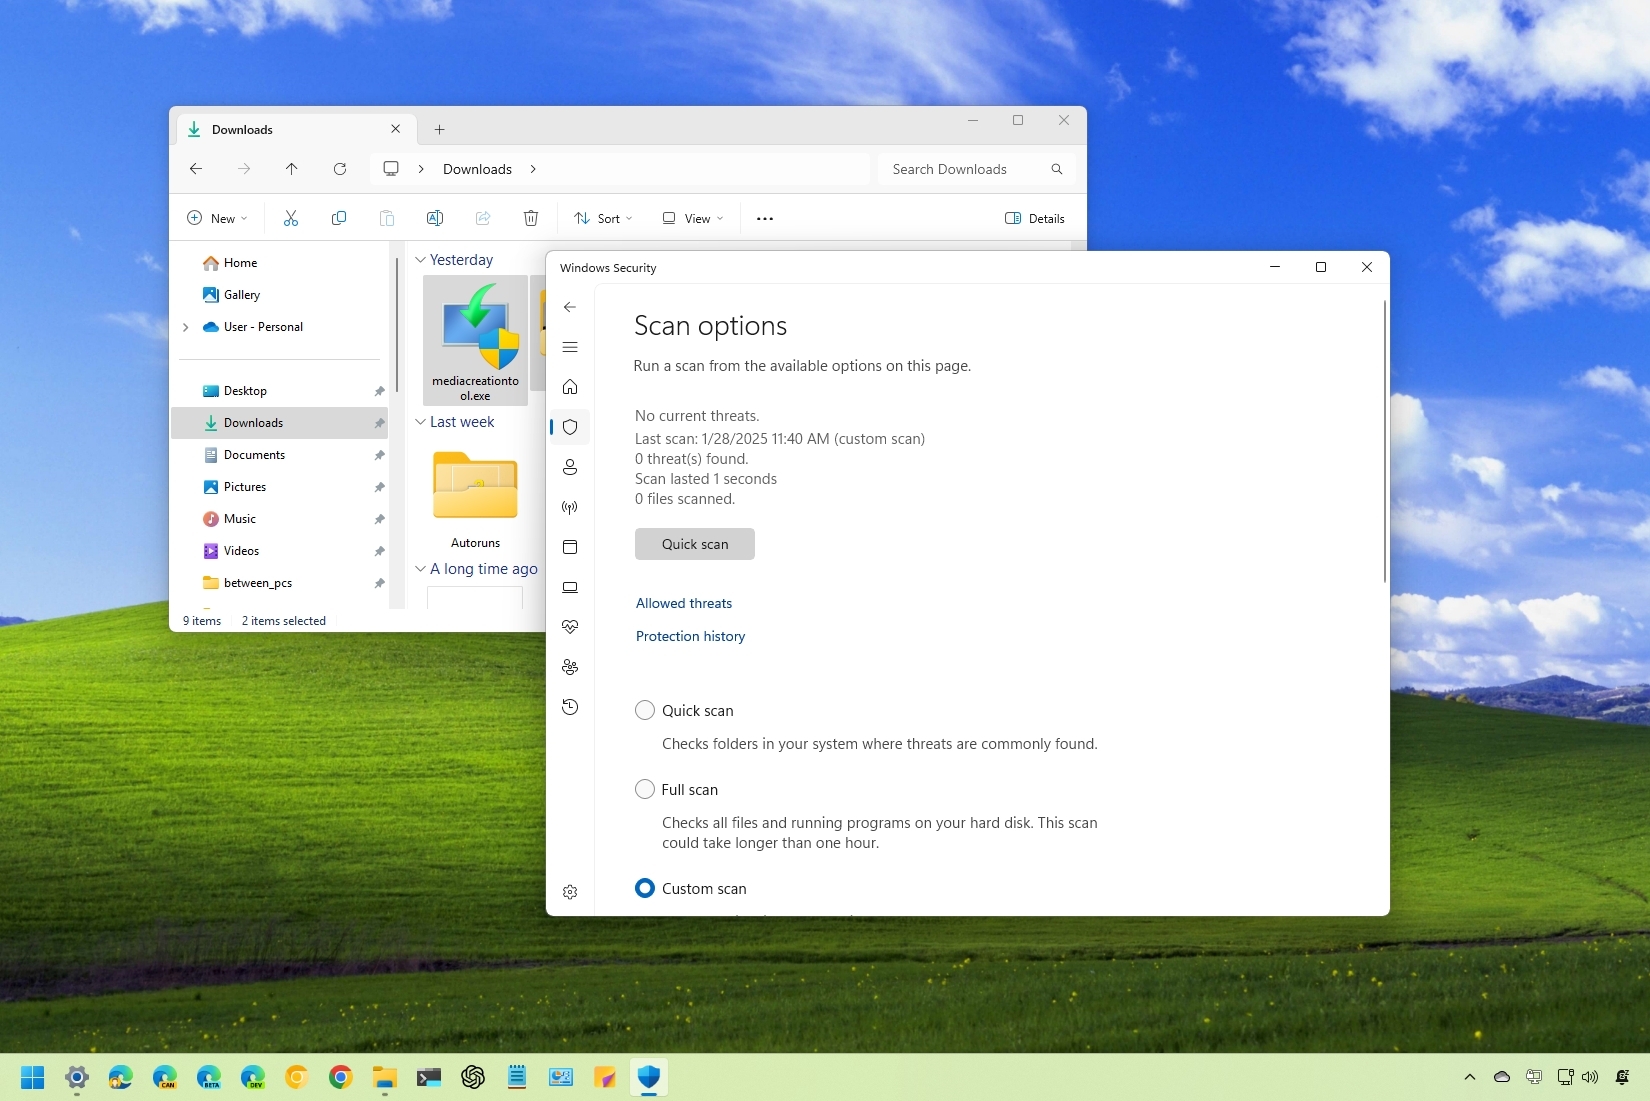
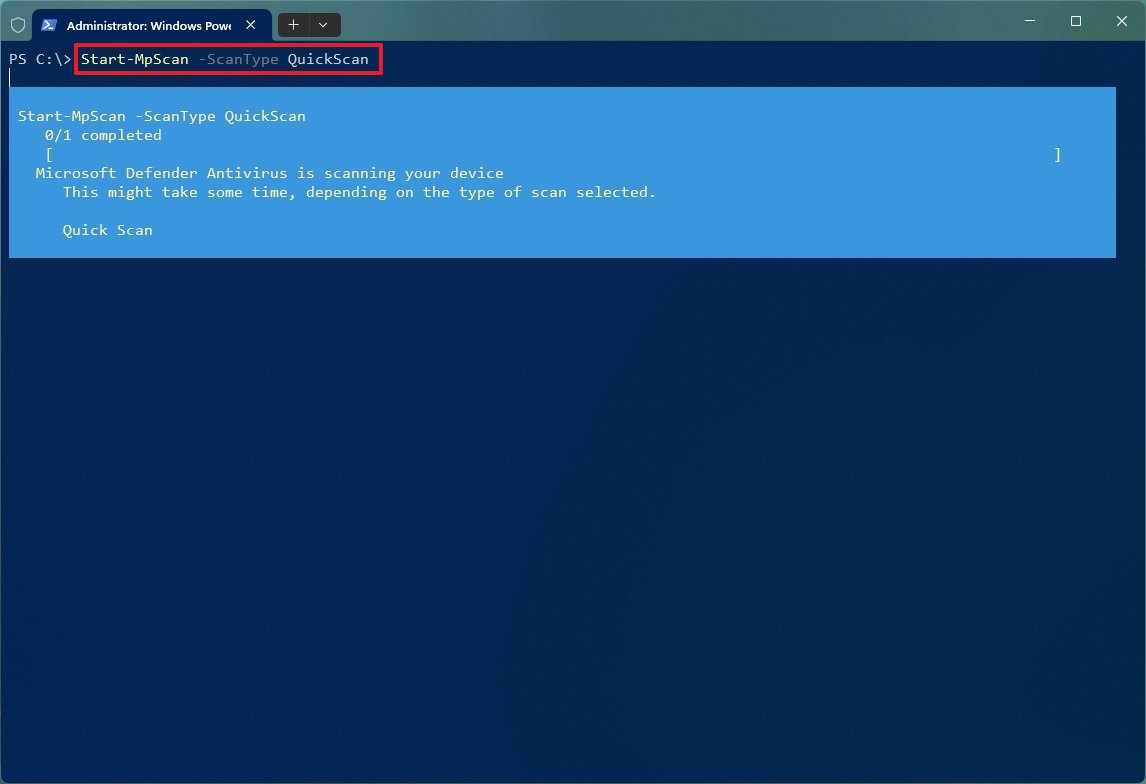
After you complete the steps, the antivirus will perform a full scan on Windows 11.
This scan will restart the computer.
As a result, it’s recommended to store your files and close your applications before proceeding.
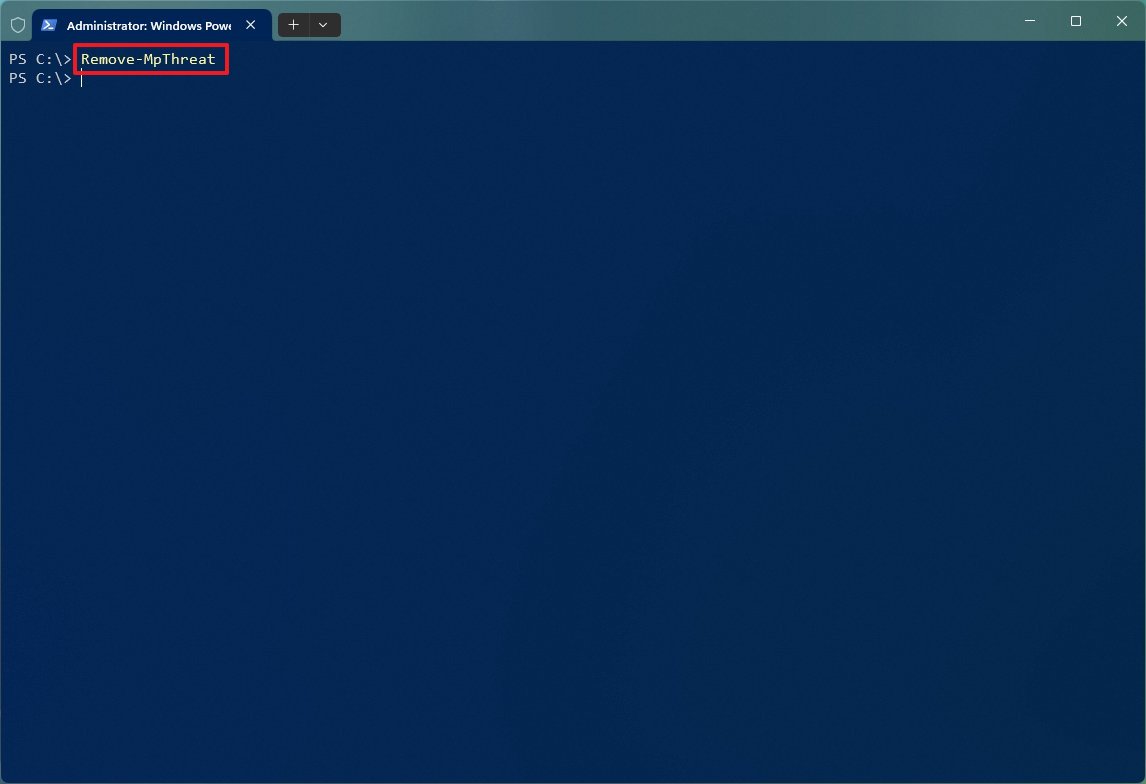
(This option only works for threats the Microsoft Defender Antivirus hasn’t already mitigated.)
you could always remove the exclusion using theRemove-MpPreference -ExclusionPath “PATH\TO\FOLDER"command.
In the command, remember to set the exclude path you want to remove.
Exclude file bang out
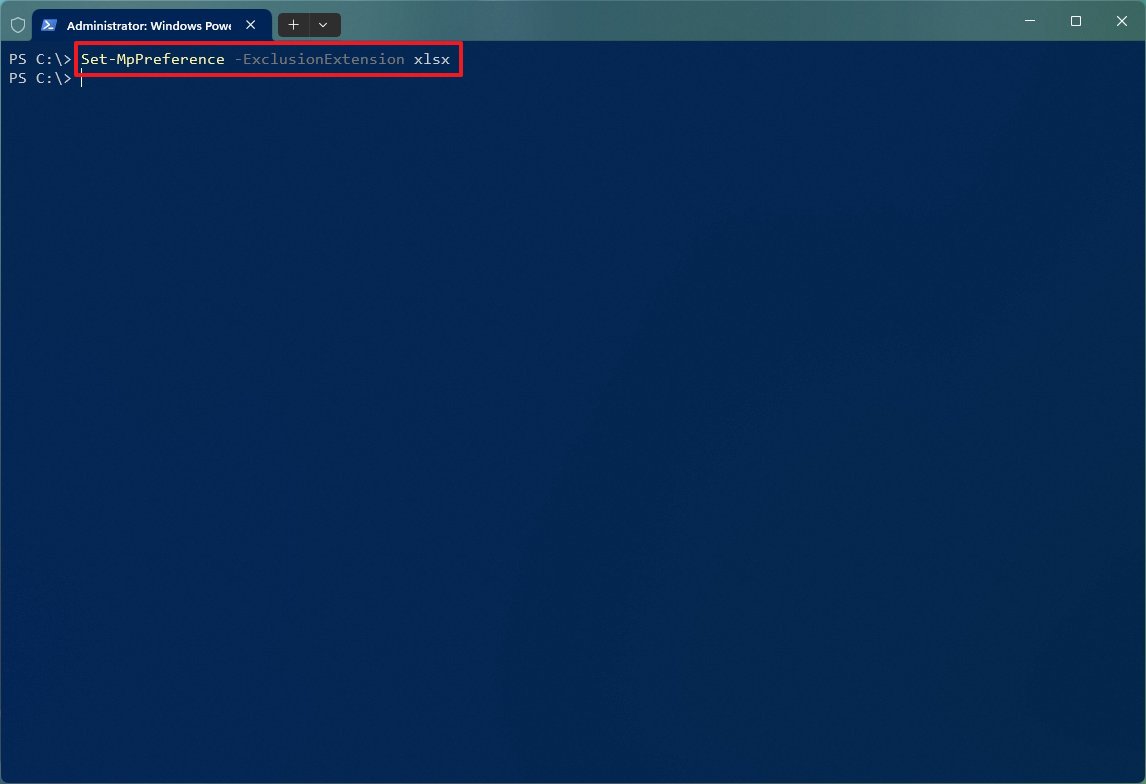
The Defender Antivirus also includes an option to exclude specific file types.
For instance, this command excludes the Microsoft Excel files from being scanned:Set-MpPreference -ExclusionExtension xlsx.
you could always remove the exclusion using theRemove-MpPreference -ExclusionExtension EXTENSIONcommand.
In the command, remember to set the exclude extension you want to remove.
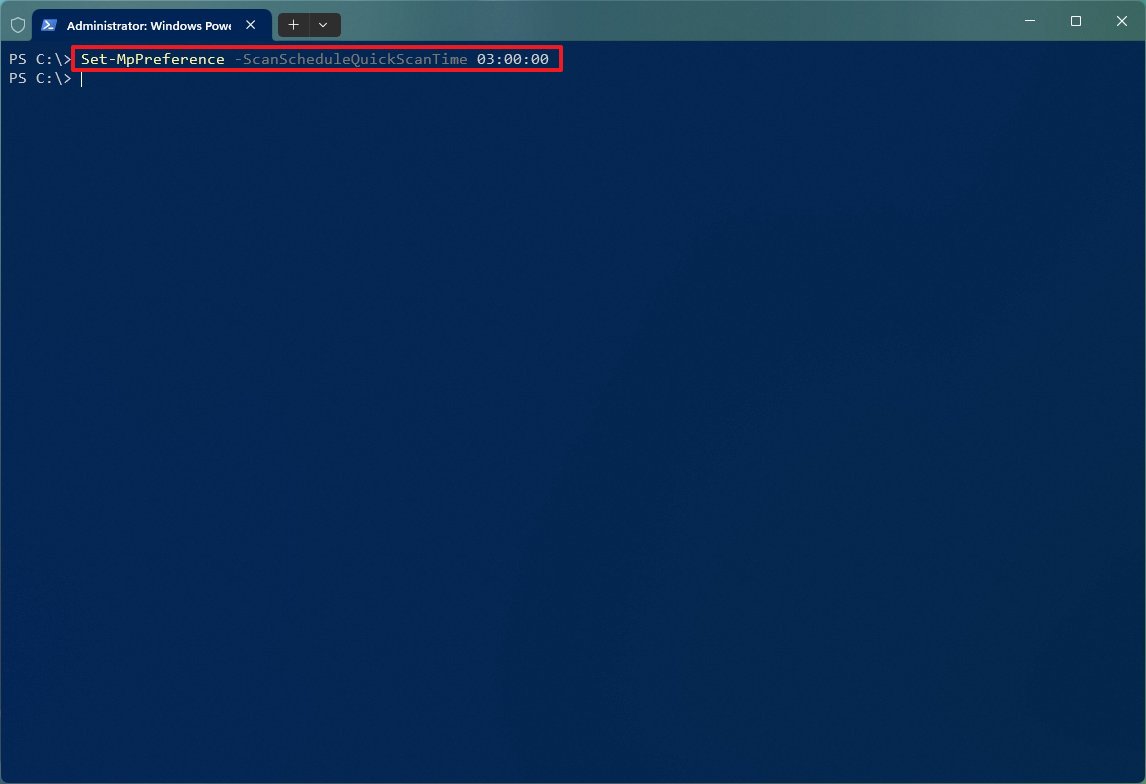
For instance, this command schedules a full scan at 3:00 am, local time:Set-MpPreference -RemediationScheduleTime 03:00:00.
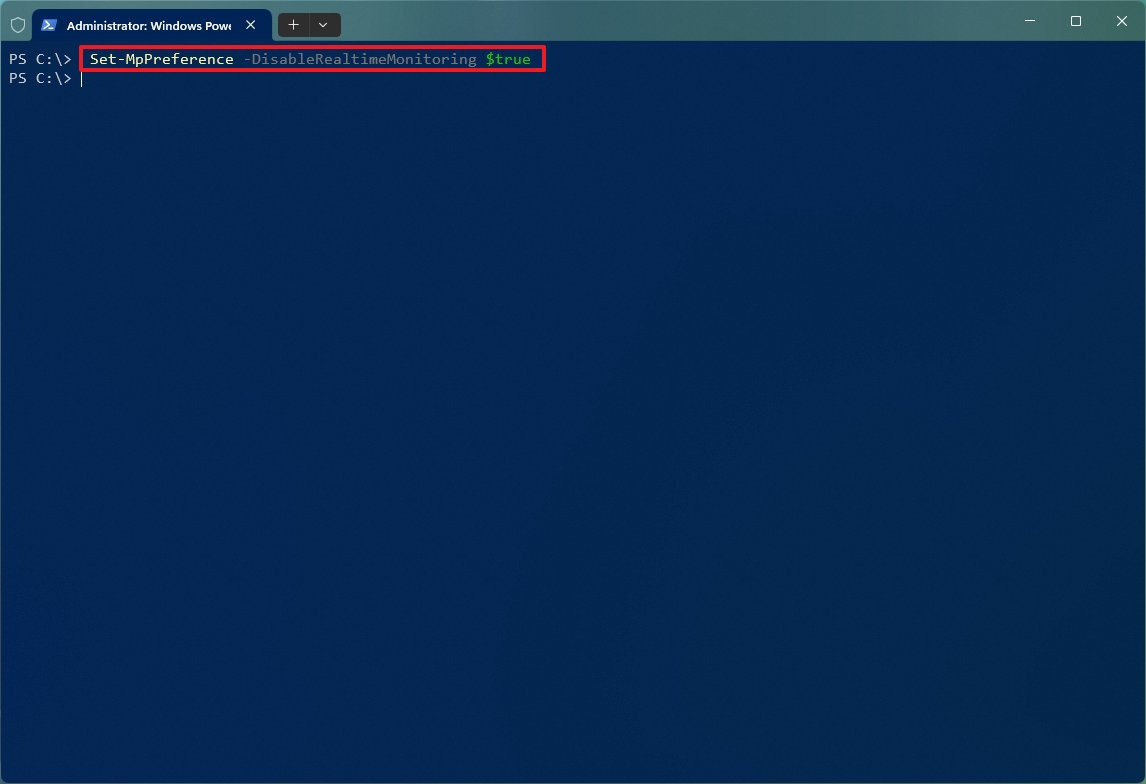
However, if you have a good reason, it’s possible to disable this feature.

you’re able to always revert the behavior with theSet-MpPreference -DisableArchiveScanning $falsecommand.
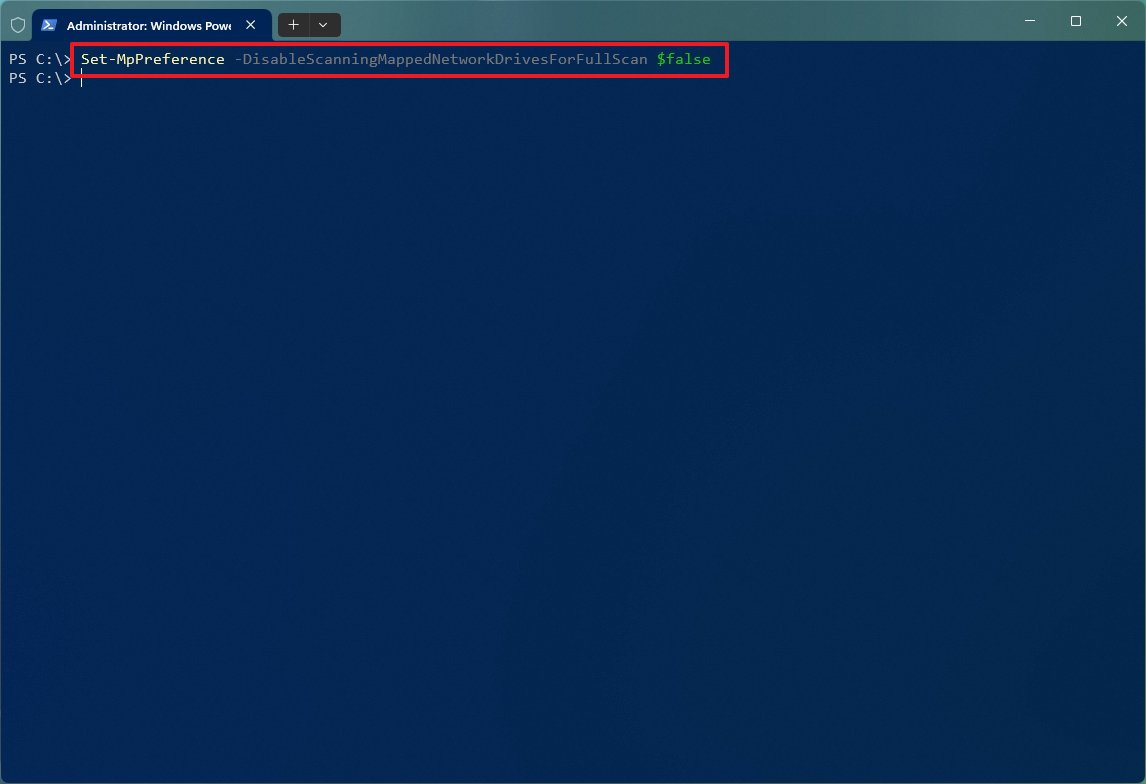
you’re free to always revert the behavior with theSet-MpPreference -DisableScanningMappedNetworkDrivesForFullScan $truecommand.